
Mexican Tortilla Roll Ups
A Mexican Inspired Pimiento Cheese

If you need an easy appetizer that people absolutely hover over, these Mexican Tortilla Roll Ups are it. Creamy, cheesy, and packed with bold flavor, they’re even better made ahead and sliced up for the perfect party bite.
As a sandwich and roll up lover through and through, I always joke that I want to throw a party where everyone has to bring their best rolled sandwich recipe. Between my Hye Rollers, Funeral Sandwiches, and Pickle Rolls, we already know this is a food I take very seriously.
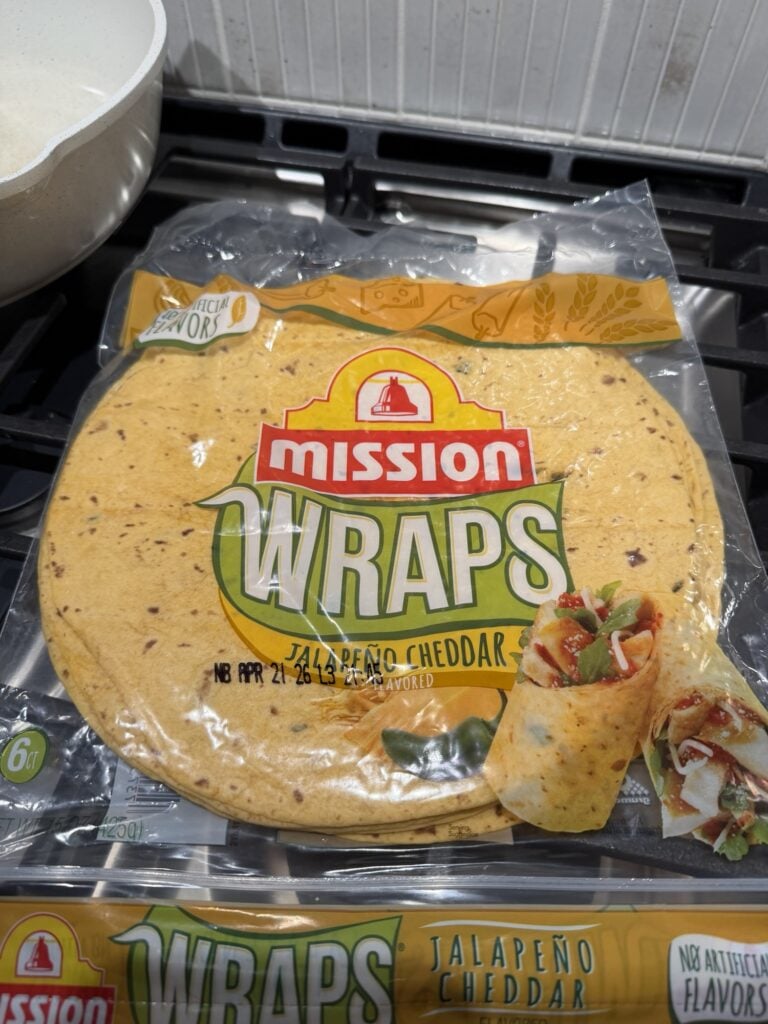
I was craving something that felt like a cross between bold Mexican flavors and that creamy, slightly chunky pimento cheese texture I love. When I spotted those jalapeño cheddar wraps, I knew I was on to something.
It absolutely delivered.
Thick Cheese
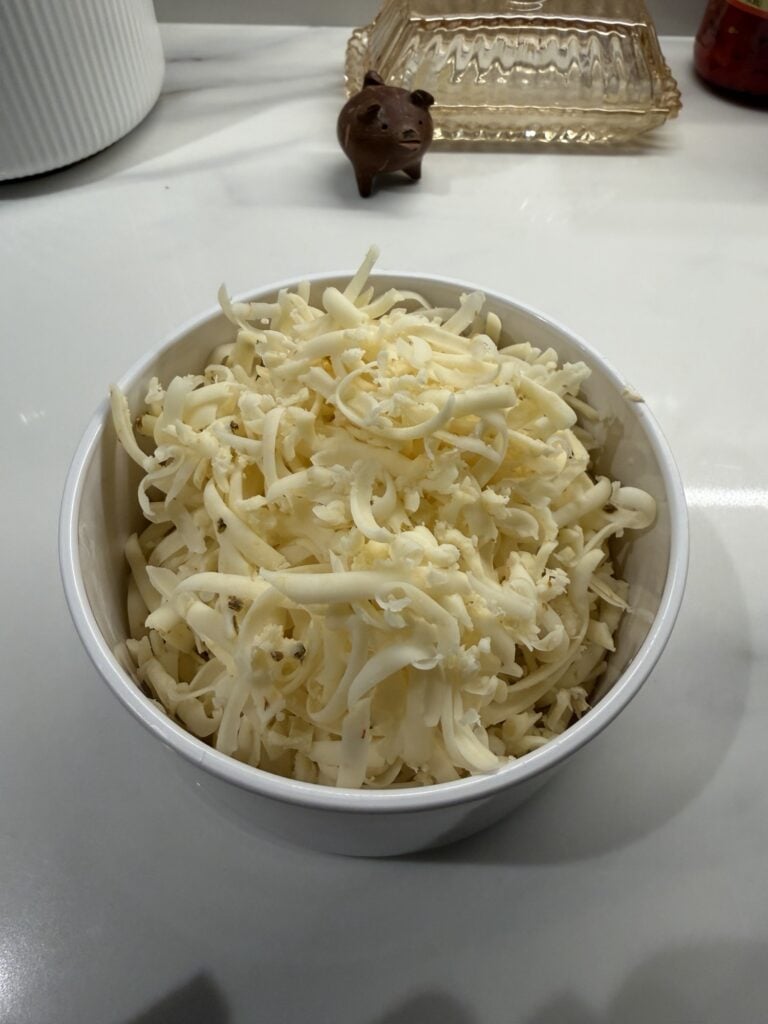
One thing I did on purpose here was grate my own cheese on a thick cut. When you bite into these, I didn’t want a completely smooth, blended filling.
I wanted you to actually feel those little pockets of cheese throughout, almost like a good pimento cheese where the texture is part of the flavor explosion.
The pepper jack brings a gentle, creamy heat from the peppers that runs through every bite without overpowering it. The extra sharp cheddar adds that tangy, slightly salty bite that cuts through the richness of the cream cheese.
Together, they balance each other out perfectly so you get spice, creaminess, and a little sharpness all in one bite. I love the sharpness of the cheddar.
Season With Your Heart
When it comes to the seasoning in this recipe, you really want to trust your taste buds and adjust as you go. Keep in mind that when you first mix the spices into the cream cheese, the flavor can seem a little mild, but as it sits, those seasonings start to bloom and develop.
This is especially with the moisture from the chilies and peppers. I always recommend giving it a taste, letting it sit for a few minutes, and then tasting it again before adding more.
It is very easy to overdo it once everything has had time to come together.
If You Don’t Trust Your Instincts
If you want to keep things simple and skip measuring out all the individual spices, you can absolutely use two packets of store-bought taco seasoning instead. It’s an easy shortcut that still gives you that bold, well-rounded flavor without any extra effort, and it blends really nicely into the cream cheese.

Add Some Protein
If you want to bulk this up a bit and add some protein, a drained and well-rinsed can of black beans would be perfect. They’re mild, slightly creamy, and hold their shape nicely.
They mix right in without overpowering the flavor while still giving the filling a little more substance.
If you want to add chicken to make these a little more filling, finely chopped or shredded cooked chicken works best. I would use rotisserie chicken or simply cook and shred a couple of chicken breasts.
Mix it right into the cream cheese mixture before spreading. Just make sure it’s chopped small so the roll ups stay easy to slice and hold together nicely.
Make Ahead For Proper Cutting
These are one of those recipes that actually turn out better when you make them ahead. I like to roll each tortilla up tightly, then wrap each one individually in plastic wrap and let them chill overnight.
They firm up, the flavors come together, and they slice much cleaner the next day. This makes them perfect for entertaining.
When you’re ready to serve, arrange them on a pretty platter over some shredded lettuce. If you want to round it out, a side of salsa and sour cream for dipping is always a great addition.

Mexican Tortilla Roll Ups

Creamy, cheesy tortilla roll ups packed with bold Mexican-inspired flavor and the perfect slightly chunky texture from thick-shredded pepper jack and sharp cheddar. Make them ahead for an easy, crowd-pleasing appetizer that slices beautifully and gets even better as it chills.
Ingredients
- 2 eight ounce blocks cream cheese, softened
- 2 to 3 teaspoons ground cumin
- 2 teaspoons celery salt
- 1 teaspoon chili powder
- 1/2 teaspoon paprika
- 2 teaspoons onion powder
- 2 teaspoons garlic powder
- 1 small can diced green chilies, not drained
- 2 red bell peppers, finely minced
- 8 ounces pepper jack cheese, thick shredded
- 8 ounces extra sharp cheddar cheese, thick shredded
- Mission jalapeño cheddar tortillas
Instructions
- Add the softened cream cheese to a stand mixer and whip until smooth and fluffy.
- Mix in the cumin, celery salt, chili powder, paprika, onion powder, and garlic powder. Taste and adjust seasoning as needed, keeping in mind the flavors will deepen as it sits.
- Add the diced green chilies with their liquid and mix to combine.
- Fold in the finely minced red bell peppers.
- Add the thick-shredded pepper jack and extra sharp cheddar cheese and fold everything together until evenly combined.
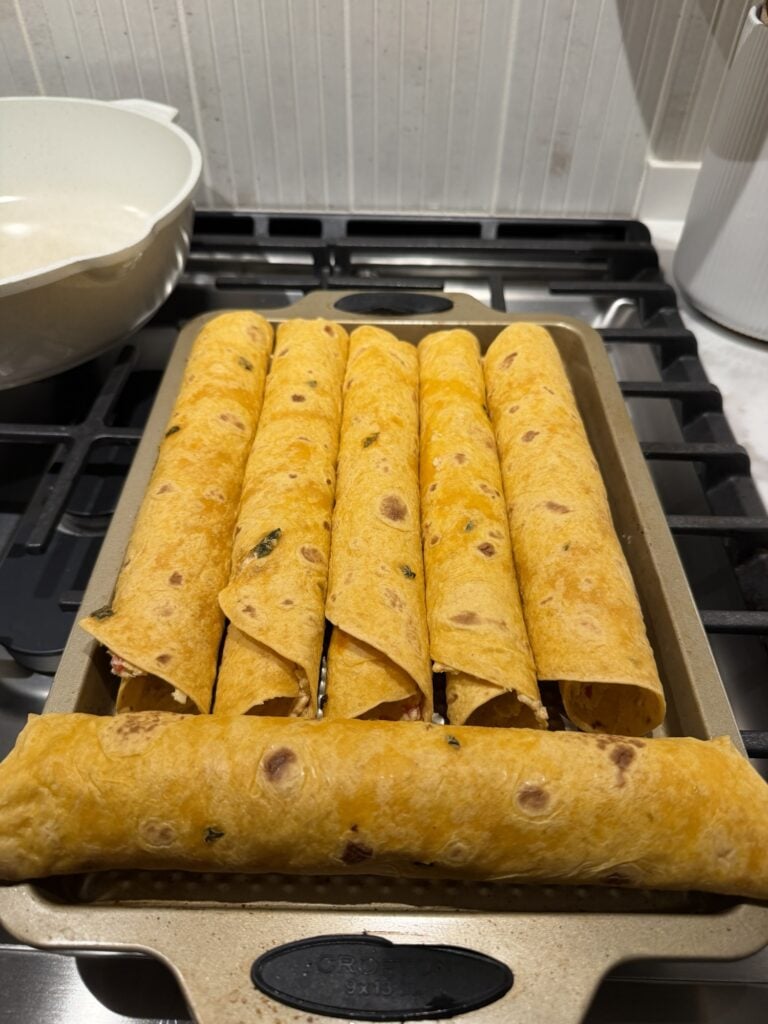
- Spread a generous layer of the mixture over each tortilla, covering edge to edge.
- Roll each tortilla up tightly.
- Wrap the rolls and refrigerate overnight to firm up.
- Slice into rounds and serve.
- Thick-shredding your own cheese makes a huge difference here. It gives you that slightly chunky, spreadable texture similar to a good pimento cheese, rather than turning into a smooth paste like pre-shredded cheese can. It also melts and blends better into the cream cheese without getting grainy.
- Letting these sit overnight is not optional in my opinion. The flavors meld, the mixture firms up, and you get those clean, bakery-style slices instead of a messy situation.