
Perfectly Easy Thanksgiving Turkey

Avoid the Holiday Headache
If cooking the Thanksgiving turkey makes you nervous, this Perfectly Easy Thanksgiving Turkey is the recipe I want you to try. There is no constant basting, no complicated brine and no opening the oven every twenty minutes to poke and prod at the bird.
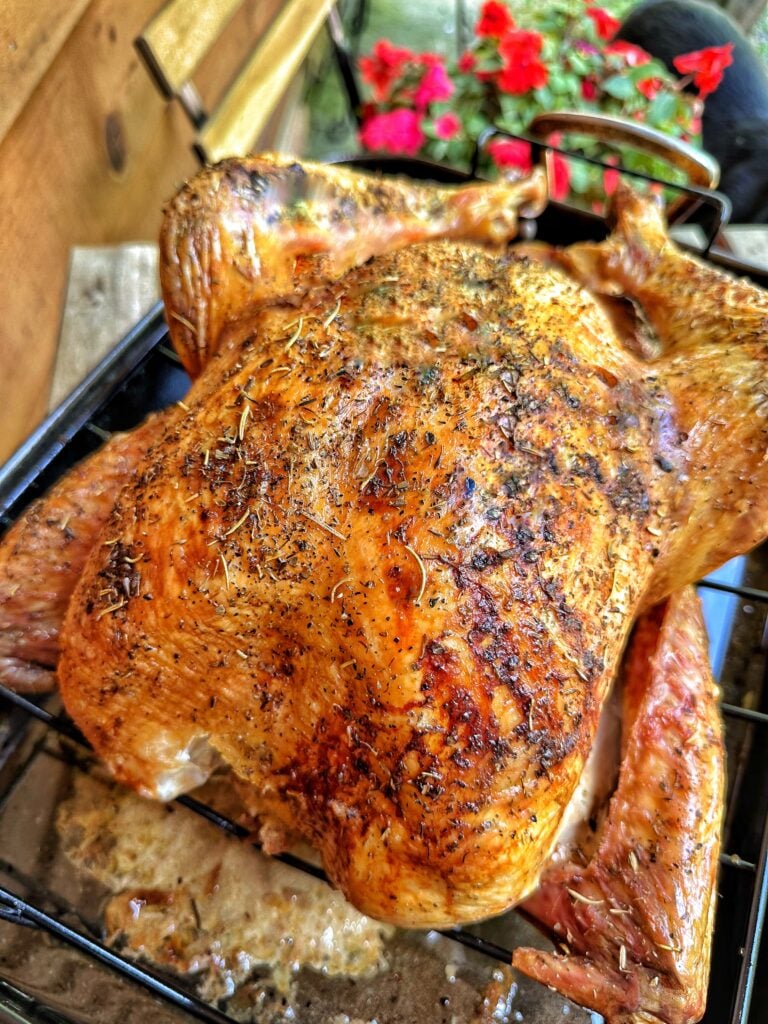
My method starts the turkey at high heat, lowers the temperature without opening the oven door and uses seasoned butter underneath the skin to create a juicy turkey with beautifully browned, crispy skin.
But making a great Thanksgiving turkey actually starts several days before Thanksgiving. You have to buy the right size bird, give it enough time to thaw and do a little preparation the night before.
I am going to walk you through ALL of it.
Before You Jump To Recipe
Here are the most important things to know before you get started:
Let the turkey rest. This is also when I get my Thanksgiving side dishes into the oven.
Buy your turkey early. Especially if you are buying frozen.
Allow plenty of thawing time. A frozen turkey takes approximately 24 hours for every 4 to 5 pounds to thaw in the refrigerator.
Add another night to your timeline. I like my thawed turkey to sit uncovered in the refrigerator overnight before roasting.
I do not brine this turkey. The seasoned butter, aromatics and cooking method give me the results I want without adding another Thanksgiving project.
Check the package. Some turkeys are already treated with a salt solution or seasoning.
Use a roasting pan that JUST fits your turkey. I don’t want my drippings spread across a giant pan and evaporating.
Don’t baste it. Every time you open that oven door, you’re interfering with the cooking environment we’ve created.
Use a meat thermometer. Cooking times are estimates. Temperature tells you when your turkey is actually ready.
How Much Turkey Should I Buy?
One of the first Thanksgiving questions people ask me is, “How big of a turkey do I need?”
A good starting point is approximately 1 pound of whole turkey per person.
Personally, I would rather have too much turkey than not enough, especially because leftover Thanksgiving turkey is one of the best parts of making the thing in the first place.
If your family loves leftovers or you specifically want enough turkey for sandwiches and another meal, I would plan closer to 1 1/4 to 1 1/2 pounds per person.
Turkey Buying Cheat Sheet
- 6 people: approximately 8 to 10 pounds
- 8 people: approximately 10 to 12 pounds
- 10 people: approximately 12 to 15 pounds
- 12 people: approximately 15 to 18 pounds
- 14 people: approximately 18 to 20 pounds
- 16 people: approximately 20 to 24 pounds
Remember that a whole turkey includes bones, so a 15-pound turkey does not give you 15 pounds of meat.
And if you’re feeding a very large group, you may find it easier to make two smaller turkeys rather than one dinosaur-sized bird. Unless you love dinosaurs.
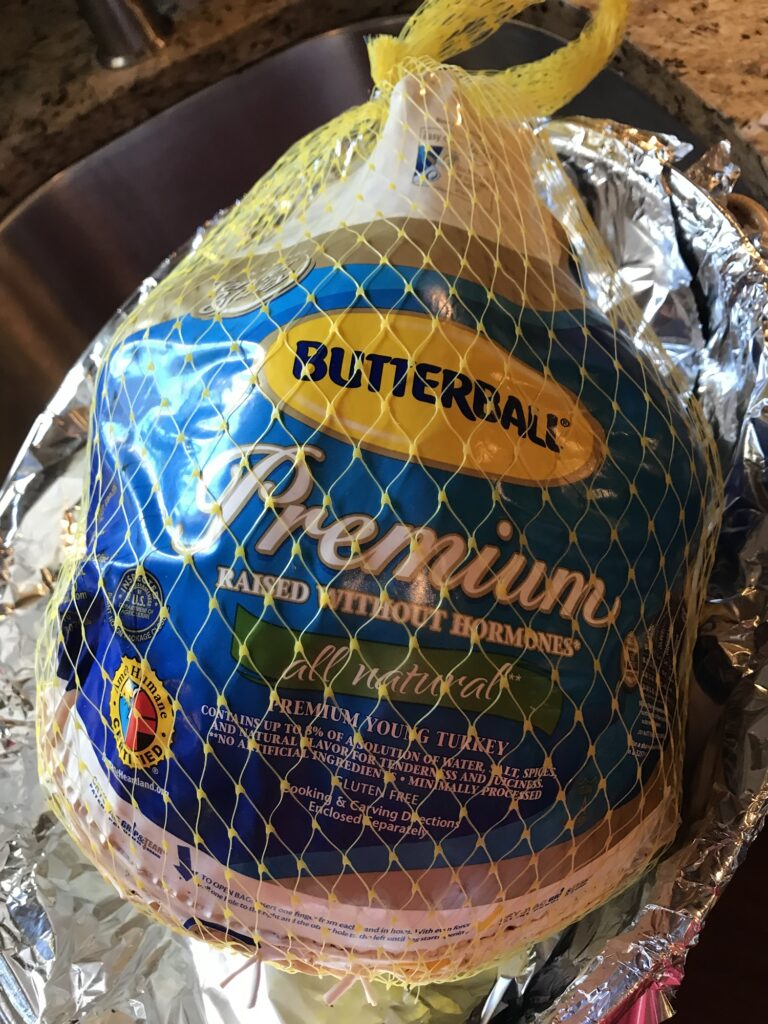
How to Buy a Thanksgiving Turkey
Fresh or frozen?
Either one can make a delicious Thanksgiving dinner.
A frozen turkey is convenient because you can buy it well in advance. You just HAVE to remember that thawing one takes days, not hours.
Fresh turkey eliminates that problem, but you need to pay attention to the sell-by/use-by information and plan when you’re buying it.
More importantly, read the package.
Look to see whether your turkey has already been enhanced, injected, seasoned or treated with a salt solution. This is particularly important if you’re thinking about brining your turkey because you don’t necessarily want to keep adding salt to a bird that has already been treated with it.
The Turkey Thawing Timeline
Please read this section BEFORE Thanksgiving week.
One of the most common turkey mistakes happens before anyone even turns on the oven.
People forget how long a frozen turkey takes to thaw.
A turkey needs approximately 24 hours in the refrigerator for every 4 to 5 pounds of turkey.
So no, you cannot move your 20-pound frozen turkey from the freezer to the refrigerator on Wednesday night and expect Thanksgiving miracles Thursday morning.
Refrigerator Thawing Guide
- 8 to 12 pounds: approximately 2 to 3 days
- 12 to 16 pounds: approximately 3 to 4 days
- 16 to 20 pounds: approximately 4 to 5 days
- 20 to 24 pounds: approximately 5 to 6 days
I would rather move mine into the refrigerator a little early than cut it too close.
Once a turkey has completely thawed in the refrigerator, it can remain refrigerated for another one to two days before cooking.
IMPORTANT FOR MY RECIPE: You also need to account for the night when I prepare the turkey and leave it uncovered in the refrigerator.
So build that into your Thanksgiving turkey calendar.

What If I Forgot to Thaw My Turkey?
First of all, don’t put it on the counter all day.
If you need to speed things up, a turkey can be thawed using the cold-water method. Keep the turkey securely wrapped and submerged in cold water, changing the water frequently to keep it cold.
A turkey thawed using the cold-water method should be cooked immediately afterward.
The refrigerator method is still my preference because Thanksgiving is stressful enough without giving your turkey a bath all day.
Should I Brine My Thanksgiving Turkey?
You certainly CAN brine a turkey.
I don’t brine this one.
This recipe is intentionally supposed to be easy. For me, dealing with a giant bucket or container of brine, finding refrigerator space for it and then wrestling a slippery turkey out of it isn’t necessary to get the results I want.
Instead, I use seasoned butter underneath the skin, aromatics inside the turkey and a high-heat start to help me get flavorful meat and crispy skin.
I also salt and season the turkey before it spends the night uncovered in the refrigerator.
There is another reason to think before automatically brining: some grocery-store turkeys have already been treated with a salt solution.
Read your turkey package before deciding what additional salt treatment it needs.
Let Your Bird Breathe
The night before roasting, I dry the turkey very well with paper towels, including the inside.
Then I lightly season the inside and outside with salt and pepper and place the turkey in the refrigerator uncovered overnight.
This gives the surface of the skin a chance to dry.
Dry skin = better browning and crispier skin.
If leaving a completely uncovered turkey in your refrigerator weirds you out, you can VERY loosely drape it. You want air circulation rather than wrapping it tightly.
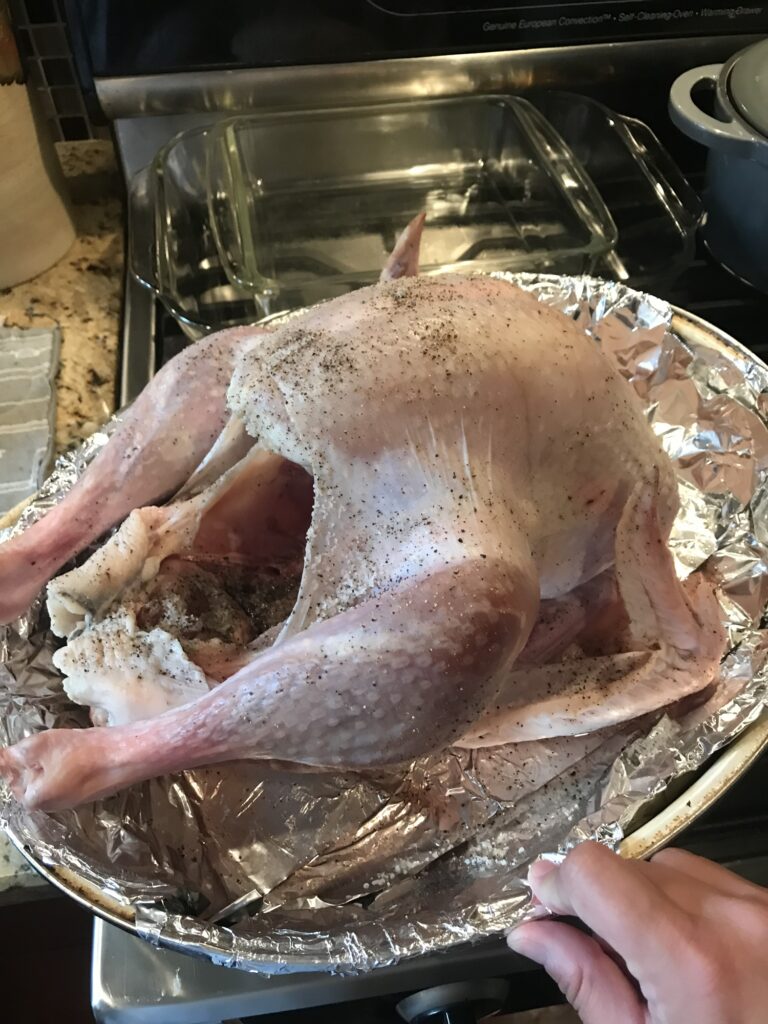
Use a Small Roasting Pan
This is one of those little things I think makes a big difference.
You want the turkey to fit in your roasting pan without spilling over the sides, but you want it to JUST fit.
Why?
If you put the turkey in an enormous roasting pan, the juices and drippings spread across a much larger hot surface.
That means more opportunity for all that liquid gold to evaporate.
A more appropriately sized pan helps keep those drippings concentrated underneath your turkey.
And I want those drippings.
They help create the moist cooking environment around the bird AND they’re exactly what I want later when it’s time to make gravy.
Keep it tight and bright when picking your roaster.
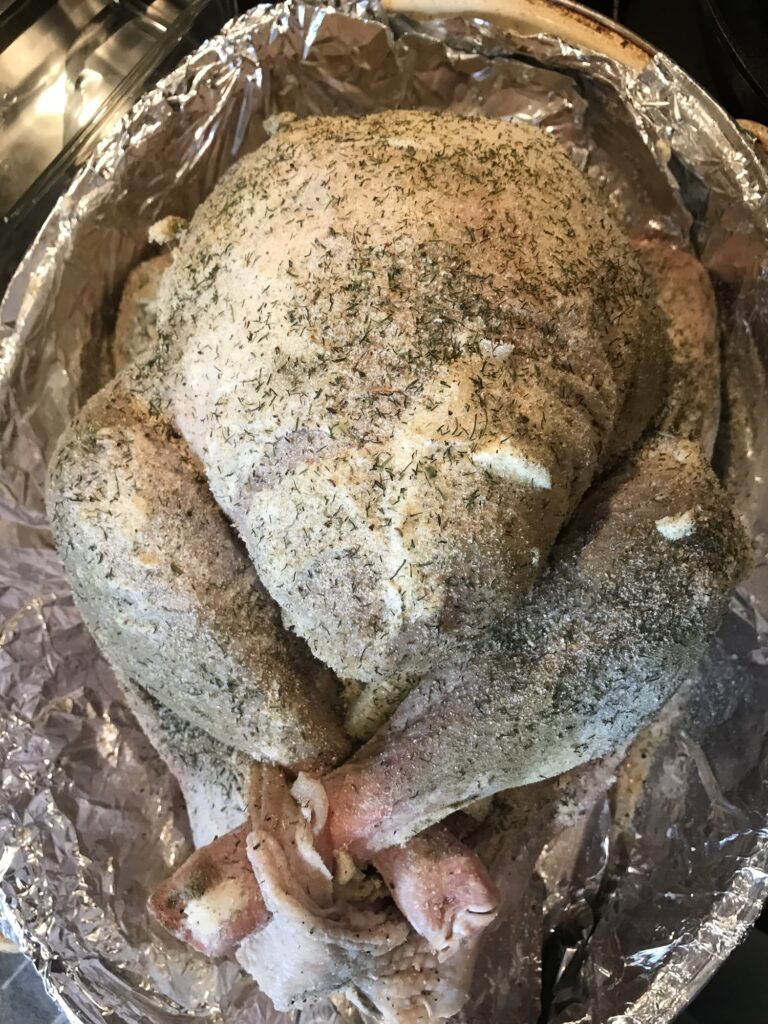
Do I Need a Roasting Rack for Turkey?
Sometimes I use a roasting rack for my turkey and sometimes I don’t, and honestly, either way works. A rack lifts the turkey up off the bottom of the roasting pan, which allows hot air to circulate underneath the bird and can help the bottom cook a little more evenly while keeping it from sitting directly in the drippings.
It can also make lifting the finished turkey out of the pan easier.
When I don’t use a rack, I simply place the turkey directly into my roasting pan.
The bottom of the turkey will sit closer to those flavorful juices and drippings, which doesn’t bother me at all since I’m much more concerned about getting beautifully browned, crispy skin on the top of the bird.
You can also make a simple “rack” with large pieces of onion, celery and carrots underneath the turkey if you want to lift it slightly while adding even more flavor to the drippings.
So if your roasting pan came with a rack, feel free to use it. If you don’t have one, you absolutely do not need to go out and buy one just to make this turkey.
Slice and Season Your Butter
Everyone talks about rubbing softened butter all over a turkey.
I do something easier.
I slice two sticks of salted butter into pats and season the butter itself with salt, pepper, garlic powder, onion powder, sage and poultry seasoning.
Then I let the butter do the work.
As those seasoned pats melt underneath the turkey skin, the butter naturally spreads along with all those seasonings.
Let your bird work for you!

Get That Butter Under the Skin
Carefully loosen the turkey skin over the breast and around the legs without tearing it.
Then slide your seasoned butter pats underneath.
You don’t have to make this beautiful.
You just want that butter distributed around the bird so that when it melts, it can spread underneath the skin.
Some butter also goes inside the turkey.

Apple, Onion and Garlic Go Inside
I cut a large sweet onion and a red apple in half and season them with the same seasonings I use on the turkey.
Those go inside the cavity along with 4 to 6 peeled garlic cloves and some of the seasoned butter.
These aren’t there to become a side dish.
They’re aromatics.
As the turkey cooks, they add flavor and aroma from the inside.
Why I Don’t Stuff My Turkey
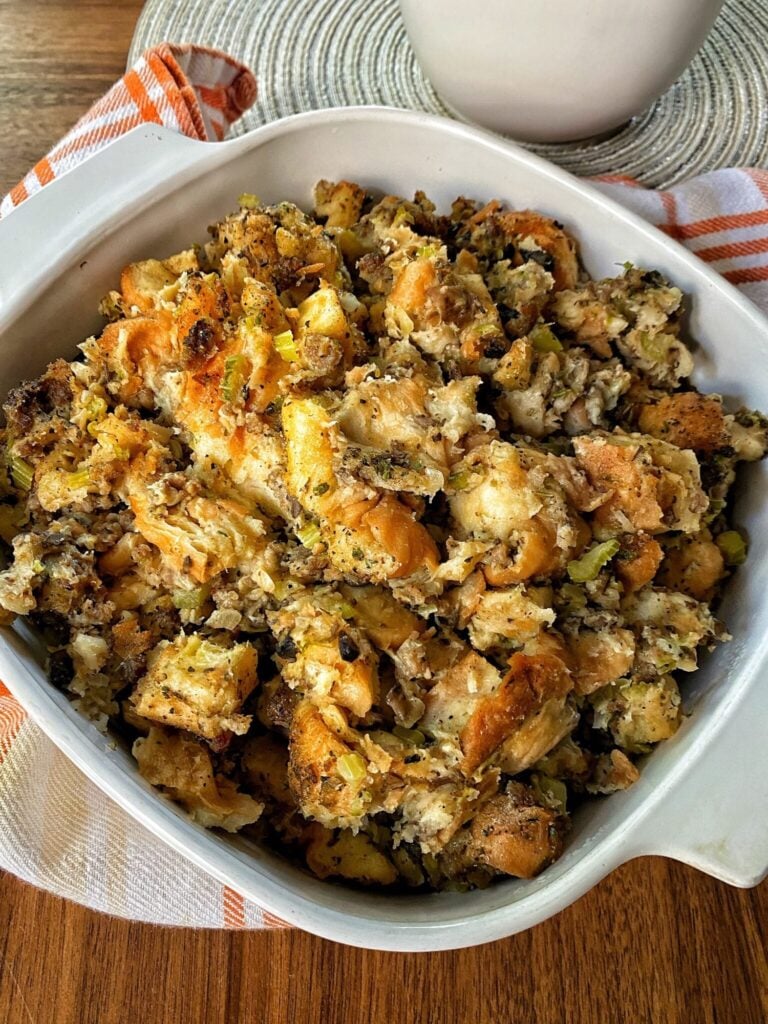
I know it’s called stuffing, but I bake mine separately.
This also makes Thanksgiving easier because my stuffing can be assembled ahead and baked while the turkey is resting.
And frankly, I like stuffing with lots of buttery crispy edges.
My World’s Best Thanksgiving Stuffing is the one I make for Thanksgiving, and I recently gave that recipe a major update with the history behind it, bread recommendations, make-ahead tips and everything I’ve learned from making it over the years.
No Basting, No Problem
This is one of my favorite things about this recipe.
I do not baste this turkey.
My roasting method begins with a very hot oven for a short period of time. Then I reduce the oven temperature WITHOUT opening the door.
The seasoned butter is melting underneath the skin, the turkey is producing its own juices and those juices are staying concentrated in the appropriately sized roasting pan.
Leave her alone.
Every time you open the oven to fuss with the turkey, you’re letting heat escape.
Thanksgiving already has enough jobs. I’m not adding “stand in front of the oven with a turkey baster” to the list.
My High-Heat Turkey Trick
When you’re ready to cook the turkey, preheat your oven to 475°F.
Put the turkey in the oven and roast it at 475°F for 15 minutes.
Then, and this is important….
DO NOT OPEN THE OVEN DOOR.
Turn the temperature down to 350°F and allow the turkey to continue roasting.
For my 15-to-20-pound turkey, I factor approximately 13 minutes per pound once the oven has been reduced to 350°F, but consider cooking times a guideline rather than a guarantee.
Your meat thermometer is what ultimately tells you what is happening inside that turkey.
How I Check My Turkey
I begin checking my turkey at around the three-hour mark.
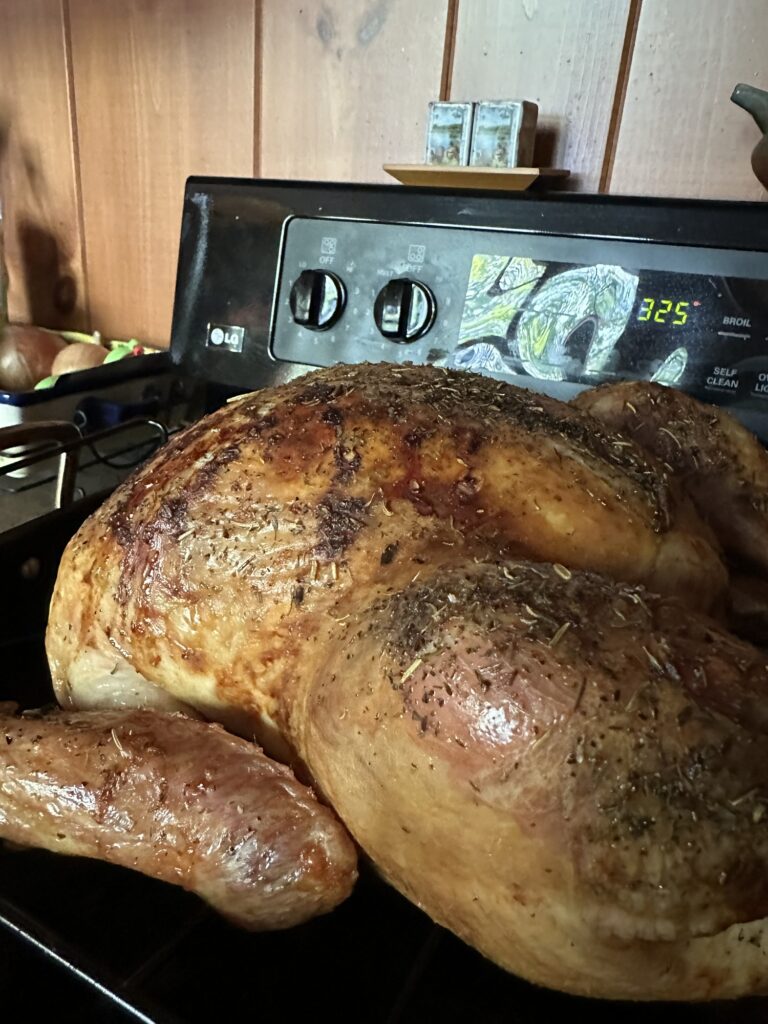
With my longtime method, when the thickest part reaches approximately 155°F, I turn off the oven, crack the oven door and allow the turkey to rest for about 30 minutes while it continues cooking from the retained heat.
Food-safety note: Because ovens, turkey sizes and carryover cooking vary, always verify the finished temperature with a reliable meat thermometer before serving. The turkey should reach at least 165°F in the thickest part of the breast and the innermost portions of the thigh and wing.
Don’t rely solely on the little plastic pop-up timer.
Use a thermometer.
Then Let Her Rest
Don’t immediately start hacking into the turkey when it comes out of the oven.
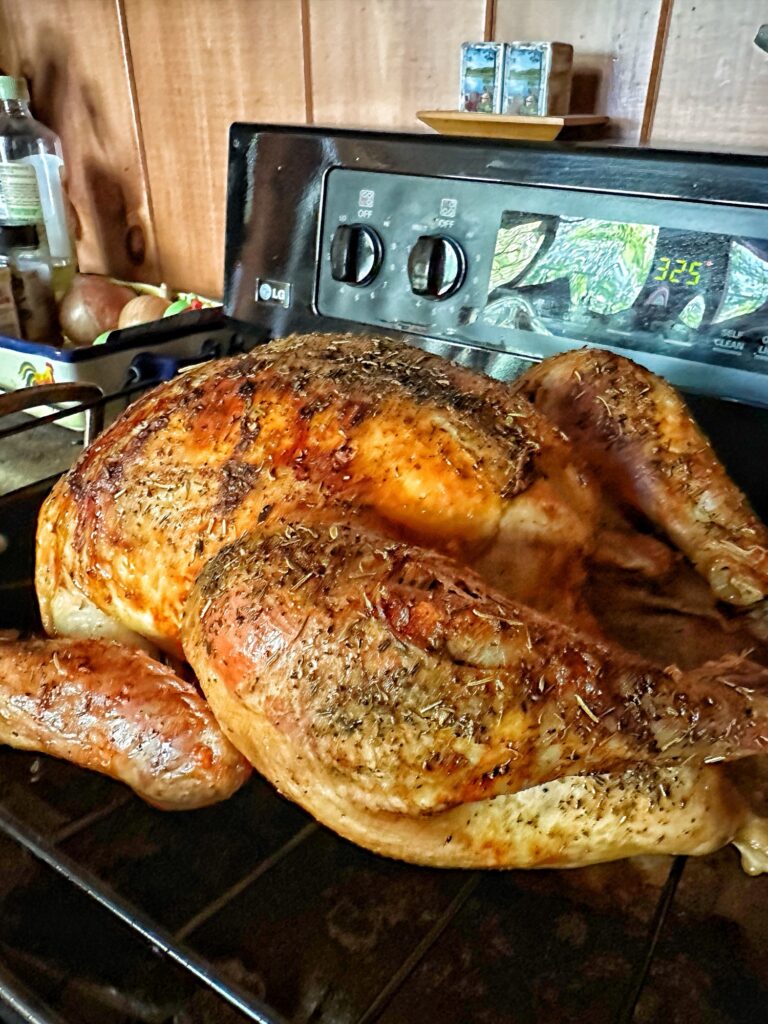
Let her rest.
This is actually an important part of my Thanksgiving cooking schedule.
People always ask me:
“If the turkey is in the oven, when am I supposed to cook all my side dishes?”
This is when.
While the turkey rests, I get my oven dishes in.
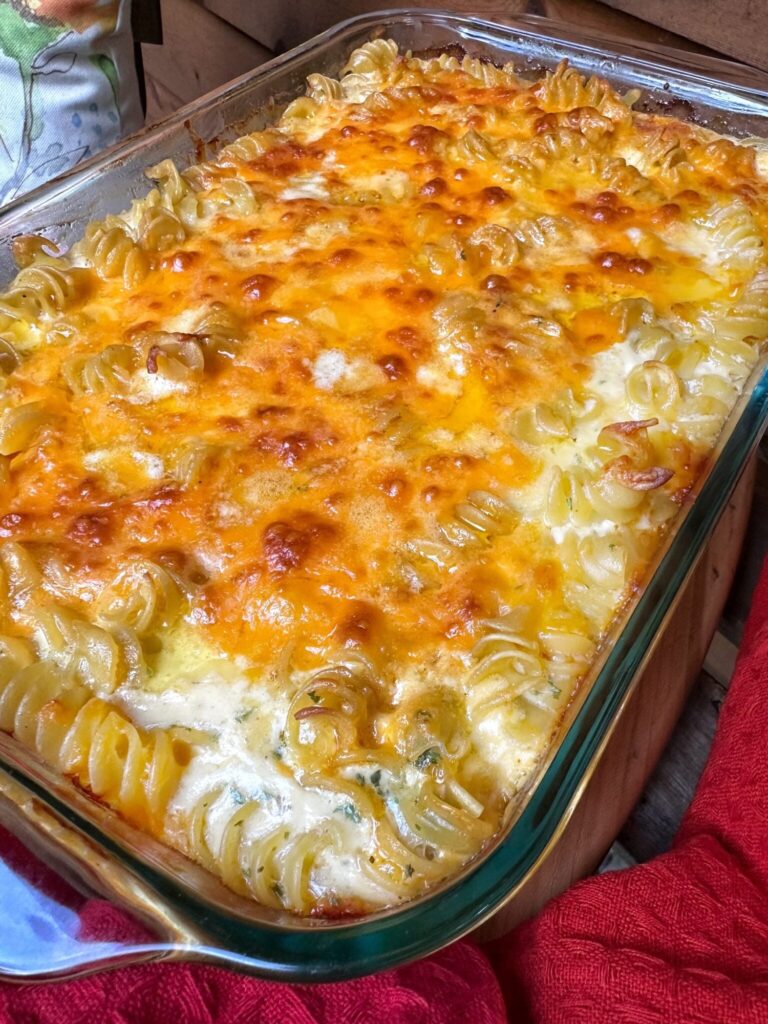
My stuffing, macaroni and cheese and other sides can finish while the turkey is resting.
I usually rest my bird right on top of my stove, which has the hot oven underneath it, so the whole area is still quite warm.
If I’ve carved the turkey and feel like some of the dark meat needs to be warmer before dinner, I put some hot turkey stock in a pan with the sliced turkey, cover it and place it in the oven AFTER my sides come out and I’ve turned the oven off.
The white meat generally doesn’t need this.
Besides, this is Thanksgiving.
That’s what you use the hot gravy for.
My Tipsy Thanksgiving Menu
Once you’ve figured out the turkey, let’s talk about everything that goes around it.
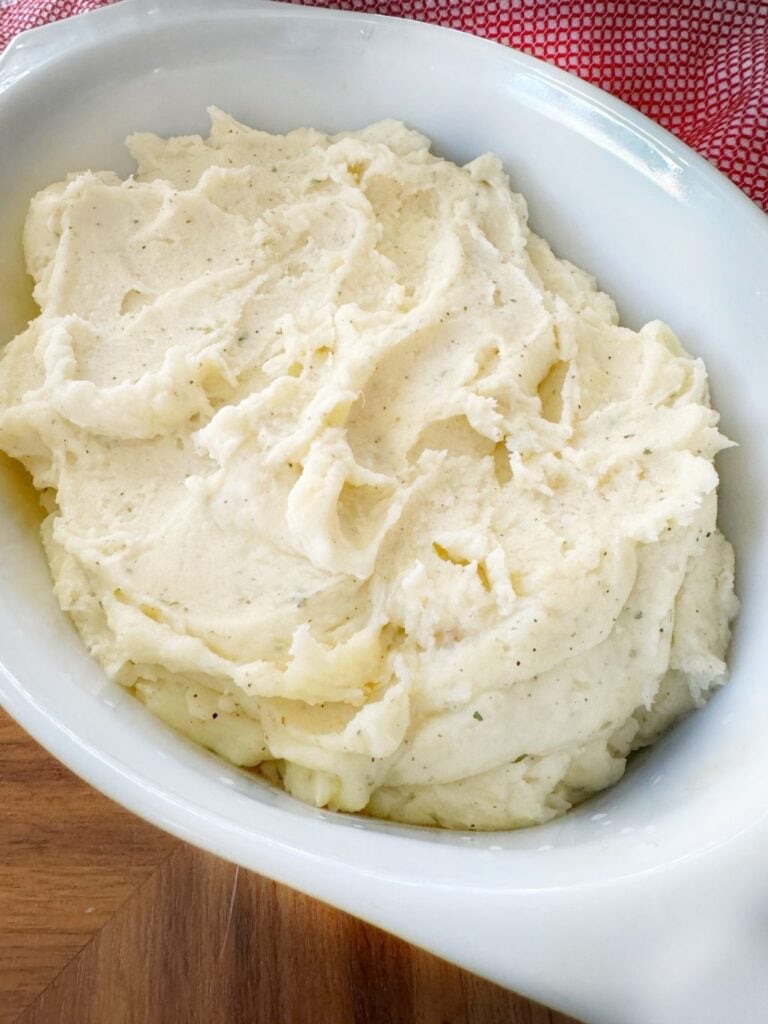
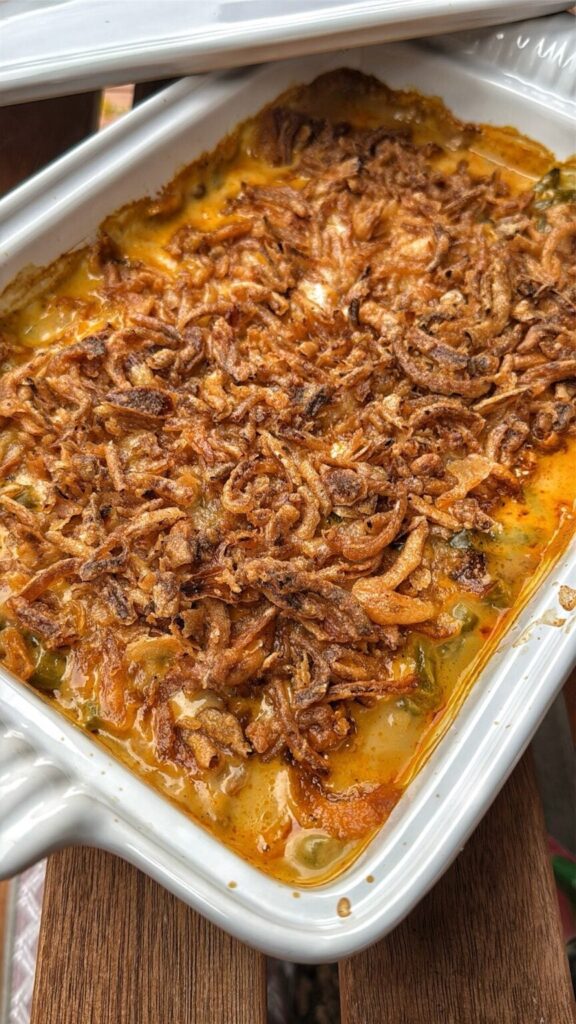
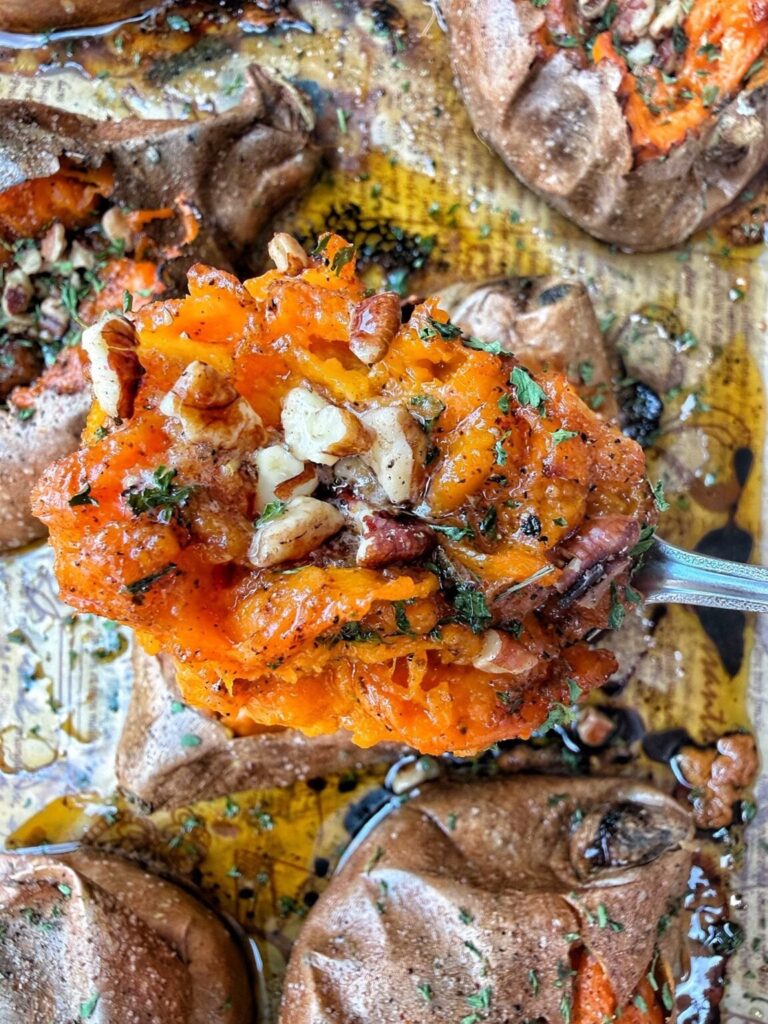
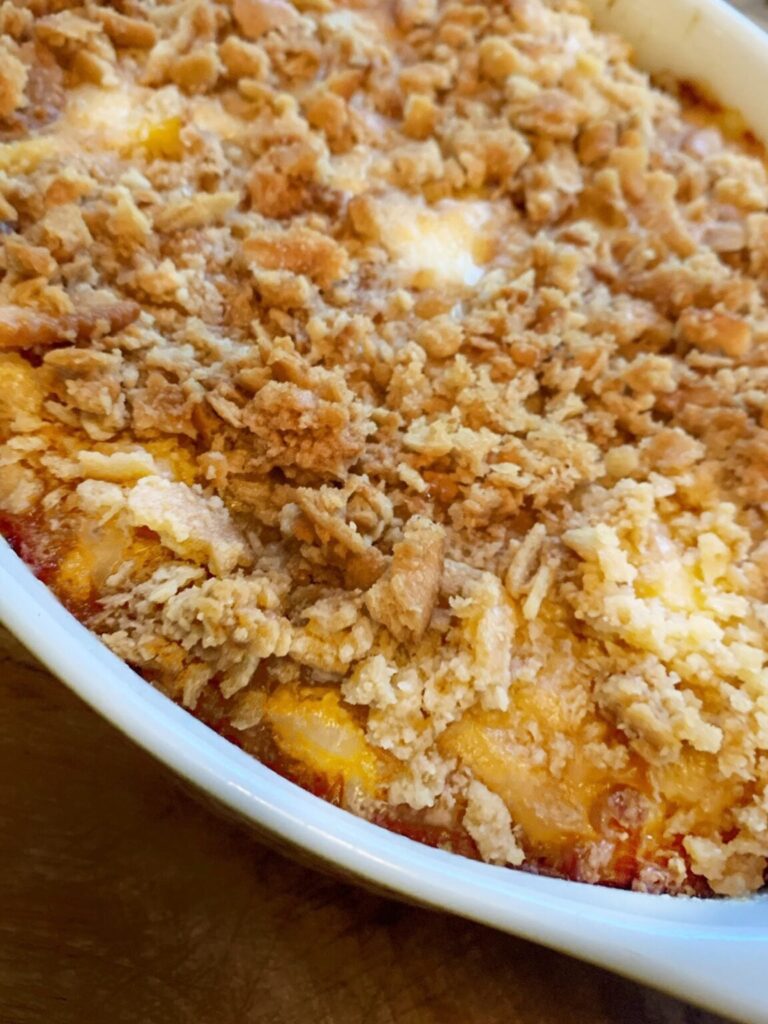
I am a Thanksgiving side dish person through and through. Give me a plate with turkey, mashed potatoes, stuffing, green beans, macaroni and cheese and plenty of gravy and I am very happy.
I’ve collected some of my favorite Tipsy Housewife Thanksgiving recipes below so you can build your whole holiday menu in one place.
My Thanksgiving Menu
Click each image for the recipe.
Don’t Throw Away That Leftover Turkey
I purposely buy enough turkey to have leftovers.
You did all this work. You might as well get a couple more meals out of it.
The first day, I am perfectly happy with a turkey sandwich standing in front of the refrigerator.
After that, I like turning the meat into something that doesn’t feel like Thanksgiving dinner all over again.
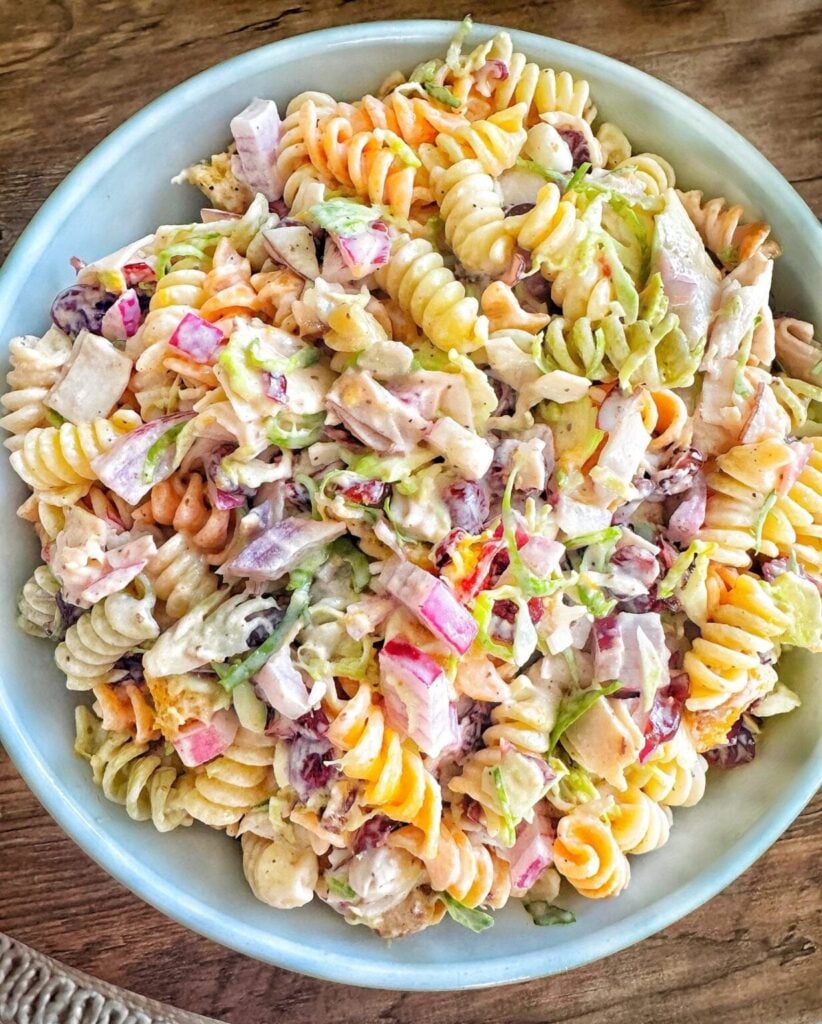
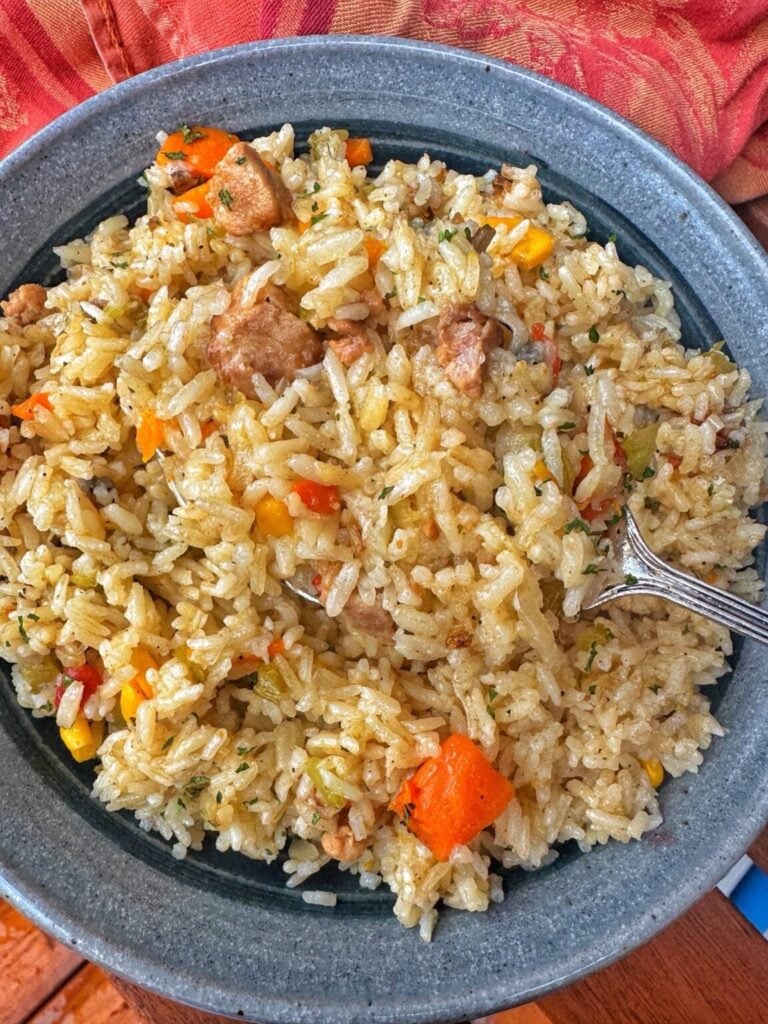
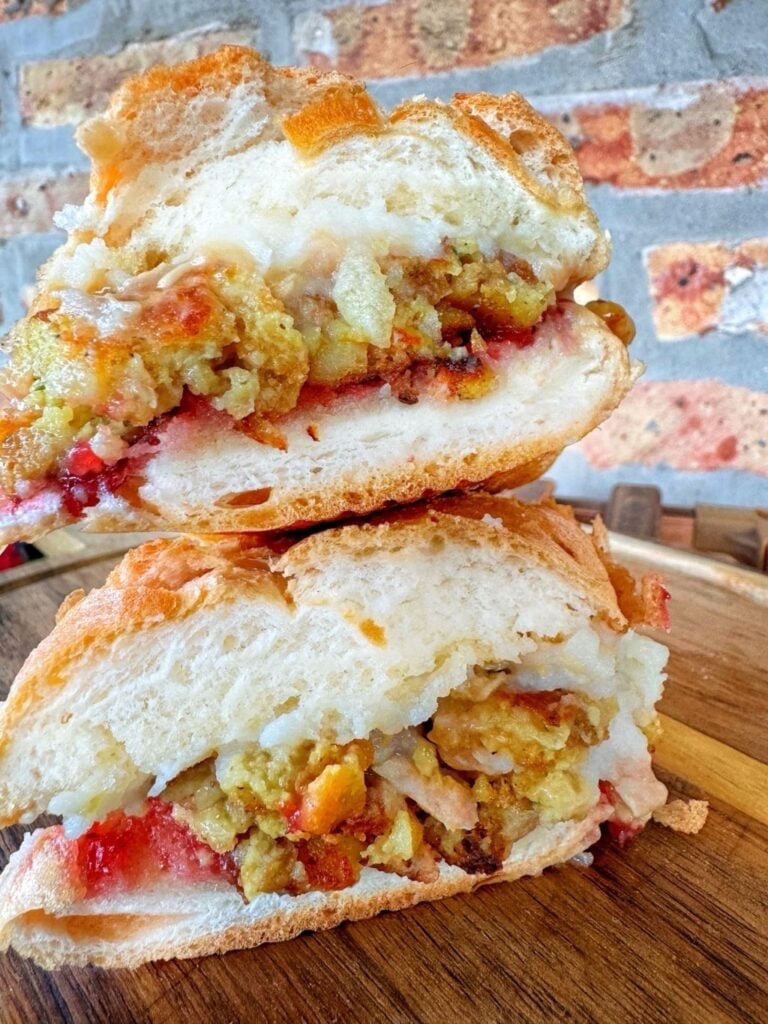
I have several recipes that are perfect for using leftover turkey, so I’ve collected them below.
Leftover Turkey Recipes
How to Store Leftover Thanksgiving Turkey
Don’t leave the turkey sitting on the Thanksgiving table all night while everyone moves into the living room and falls asleep.
Once dinner is finished, carve the remaining meat from the bones and get it refrigerated promptly.
I like storing the meat in shallow airtight containers rather than trying to shove the entire turkey carcass into the refrigerator.
Keep some white and dark meat together if your family likes both, and save a little turkey stock or gravy for reheating. A splash of liquid helps keep leftover turkey from drying out.
And don’t throw away that carcass if you make homemade turkey stock!
Can You Freeze Leftover Turkey?
Absolutely.
Remove the meat from the bones and portion it according to how you’ll actually use it later.
I like the idea of freezing turkey in meal-sized portions rather than putting five pounds into one enormous freezer bag.
Add a little turkey stock if you want additional moisture, remove as much excess air as possible and freeze.
Label the container with what it is AND the date.
Future you will be very grateful.
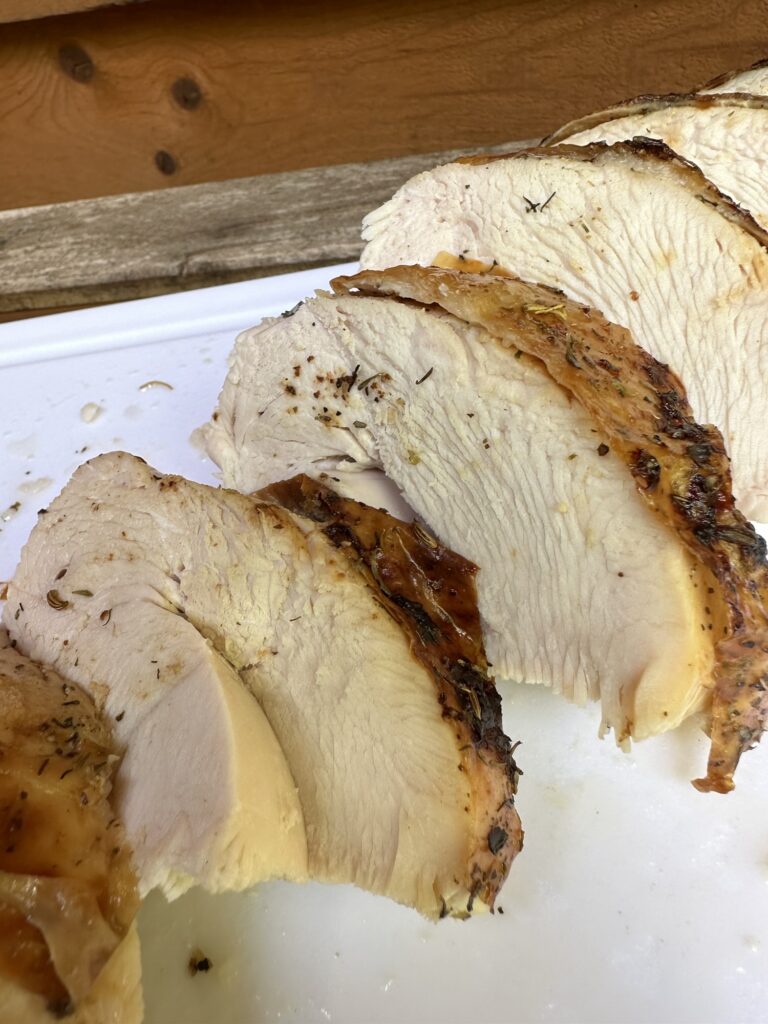
When you’re ready to use it, thaw frozen turkey safely in the refrigerator.
When reheating leftovers, heat them thoroughly to 165°F.
Frequently Asked Turkey Questions
Do I need to brine this turkey?
No. I don’t brine this recipe. The seasoned butter, overnight preparation and roasting method are designed to give me the results I want without it.
Do I cover the turkey while it cooks?
No.
I do not cover my turkey for baking.
Do I baste the turkey?
No.
Leave the oven door closed and let the seasoned butter and turkey drippings do their jobs.
Can I use a fresh turkey?
Yes. Just skip the thawing portion of the timeline and pay attention to the date and storage instructions on your particular turkey.
What if my turkey is already brined or injected?
Read the package. If the turkey has already been treated with a salt solution, be conservative when adding additional salt.
How long does a turkey take to thaw?
Plan on approximately 24 hours of refrigerator thawing for every 4 to 5 pounds.
A 20-pound turkey can therefore take approximately four to five days to thaw completely.
And remember that MY recipe also calls for the thawed turkey to sit uncovered in the refrigerator overnight before roasting.
Can I thaw my turkey on the counter?
No. Use the refrigerator or a recognized safe cold-water thawing method.
Do I put stuffing inside the turkey?
I don’t.
I use apple, onion, garlic and butter inside the turkey and bake my stuffing separately.
Where should I put the thermometer?
Check more than one area. You want to verify the temperature in the thickest portion of the breast and the innermost portions of the thigh and wing without placing the thermometer against bone.
Can I make this on a smoker or Traeger?
I developed and tested this particular method for a conventional oven. A smoker changes the cooking environment, so I wouldn’t assume the same temperatures and timing will produce identical results.
Make a Practice Turkey
Here is one of my favorite pieces of Thanksgiving advice:
Make a turkey before Thanksgiving.
Seriously.
Pick a Sunday in October, make a turkey for Sunday dinner or football watching and practice.
Turkey is relatively inexpensive compared with a lot of other large roasts, you’ll have plenty of meat for meals throughout the week and you can use the carcass to make homemade turkey stock for Thanksgiving.
Most importantly, you’re not trying this method for the first time while twelve people are sitting in your house asking when dinner will be ready.
Once you’ve done it once, Thanksgiving turkey stops feeling like some mysterious holiday cooking event.
It’s just a big bird.
And now you know exactly what to do with her.
Perfectly Easy Thanksgiving Turkey Recipe
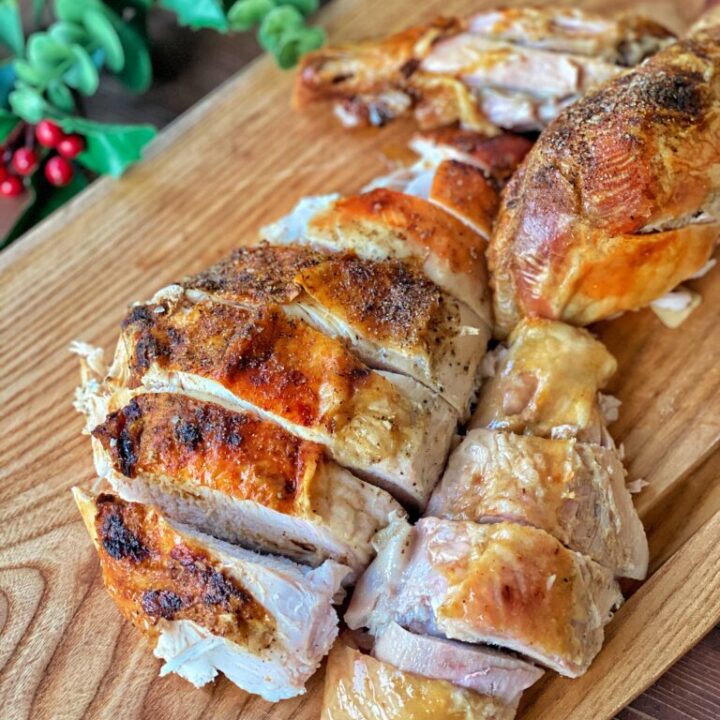
This no-fuss Thanksgiving turkey starts at high heat for crispy golden skin, then finishes at a lower temperature without constant basting. Seasoned butter underneath the skin, apple, onion and garlic create a flavorful, juicy holiday turkey without the need for a traditional brine.
Ingredients
- 1 whole turkey, approximately 15 to 20 pounds, completely thawed
- 2 sticks salted butter
- 1 large sweet onion
- 1 large red apple
- 4 to 6 cloves garlic, peeled
- Salt, to taste
- Black pepper, to taste
- Garlic powder, to taste
- Onion powder, to taste
- Sage, to taste
- Poultry seasoning, to taste
- Approximately 3 tablespoons vegetable oil or cooking oil of your choice
Instructions
- Choose a roasting pan that just fits your turkey. You don't want the bird spilling over the sides, but avoid an unnecessarily large pan that allows all your drippings to spread out and evaporate.
- The night before roasting, remove the turkey from its packaging and remove the neck and giblets from the cavities. Pat the turkey very dry with paper towels, including the inside.
- Lightly season the inside and outside of the turkey with salt and pepper. Place the turkey in the refrigerator uncovered overnight. If you prefer, VERY loosely drape it, making sure there is still plenty of airflow around the turkey.
- On the day you are roasting the turkey, cut both sticks of butter into slices.
- Season the butter slices with salt, pepper, garlic powder, onion powder, sage and poultry seasoning. Remember that you salted the turkey the night before, so keep that in mind when adding additional salt.
- Cut the onion and apple in half and season them with the same seasonings.
- Put approximately half of the slices from one stick of butter inside the turkey cavity along with the apple, onion and peeled garlic cloves.
- Carefully loosen the skin over the breast and legs. Slide the remaining seasoned butter slices underneath the skin and distribute them around the turkey. As the butter melts, it will naturally spread underneath the skin.
- Rub approximately 3 tablespoons of vegetable oil, or your preferred cooking oil, over the outside of the turkey.
- Season the exterior again with pepper, garlic powder, onion powder, sage and poultry seasoning, being mindful of how much salt you've already used.
- Preheat the oven to 475°F.
- Place the turkey in the oven and roast at 475°F for 15 minutes.
- After 15 minutes, DO NOT OPEN THE OVEN DOOR. Reduce the oven temperature to 350°F.
- Continue roasting. For my 15-to-20-pound turkey, I use approximately 13 minutes per pound as a guideline once the oven has been reduced to 350°F.
- Begin checking the turkey's temperature around the three-hour mark. With my longtime method, when the thickest portion is approximately 155°F, I turn off the oven, crack the oven door and allow the turkey to continue resting/cooking in the retained heat for approximately 30 minutes.
- Before serving, verify the final temperature with a reliable meat thermometer. The finished turkey should reach at least 165°F in the thickest part of the breast and innermost portions of the thigh and wing.
- Rest approximately 30 minutes before carving.
*I do not cover my bird when baking
Notes
- Do not baste: I leave the oven closed while the turkey roasts.
- Do not cover: I roast this turkey uncovered.
- Thawing: Allow approximately 24 hours of refrigerator thawing for every 4 to 5 pounds of turkey. Remember to also allow time for the overnight uncovered refrigerator rest used in this recipe.
- Brining: I do not brine this turkey. Check your turkey package because some birds have already been treated with a salt solution.
- Cooking time: Turkey size, starting temperature, oven calibration and the shape of the bird can affect cooking time. Use the estimated time for planning but rely on a meat thermometer for doneness.
- Seasoning: There are intentionally no exact measurements for the dry seasonings. Season according to your taste while remembering that the turkey is salted the night before and salted butter is used.
- Resting: I use the turkey's resting time to finish my Thanksgiving side dishes in the oven.
5 Comments
Jennifer Gile
November 13, 2023 at 6:56 pm
Have you ever tried this on a Traeger or other similar smoker??
thetipsyhousewife
November 16, 2023 at 2:12 pm
No
Rebecca Blue
November 25, 2023 at 8:02 am
Love this – going to give it a shot for our Sunday Thanksgiving this year. Planning ahead – how many hours do you want the bird to dry in the refrigerator before you take it out to prep with seasoned butter and to put in the oven? Just looking for guideline – my guess is 8 hours is probably enough. Thank you –
Maribeth Woolsey
October 19, 2024 at 11:52 am
I have a similar method for prime rib…… start at high heat and then lower heat for rest of cooking time. Perfection.
Kathleen Aiello Novak
October 31, 2024 at 3:45 pm
OK. I am not ordering a cooked turkey this year. I haven’t made one in about five years…I’m trusting your recipe!