
Crackling Pork Rack Roast with Asian Glaze
The Star Of Your Dinner Show

This Crackling Pork Rack Roast with Asian Glaze is a feast for the eyes and the stomach. This roast does take a couple of days of prep, but it is worth the labor of love.
It bakes up with a crispy, crackling skin, juicy chops and the flavors of soy sauce, brown sugar, maple, garlic, and clove. This will be the most delicious and juiciest pork you have ever sank your teeth into.
Perfect for a special occasion meal. There’s a recipe card at the end of the post with all of the ingredients and instructions but first I’ve got some tips to make sure you’re picking the right pig.
Where To Buy
I purchased my roast to make this Crackling Pork Roast with Asian Glaze at Aldi. I have also been told you can get them at Costco and most grocery stores.
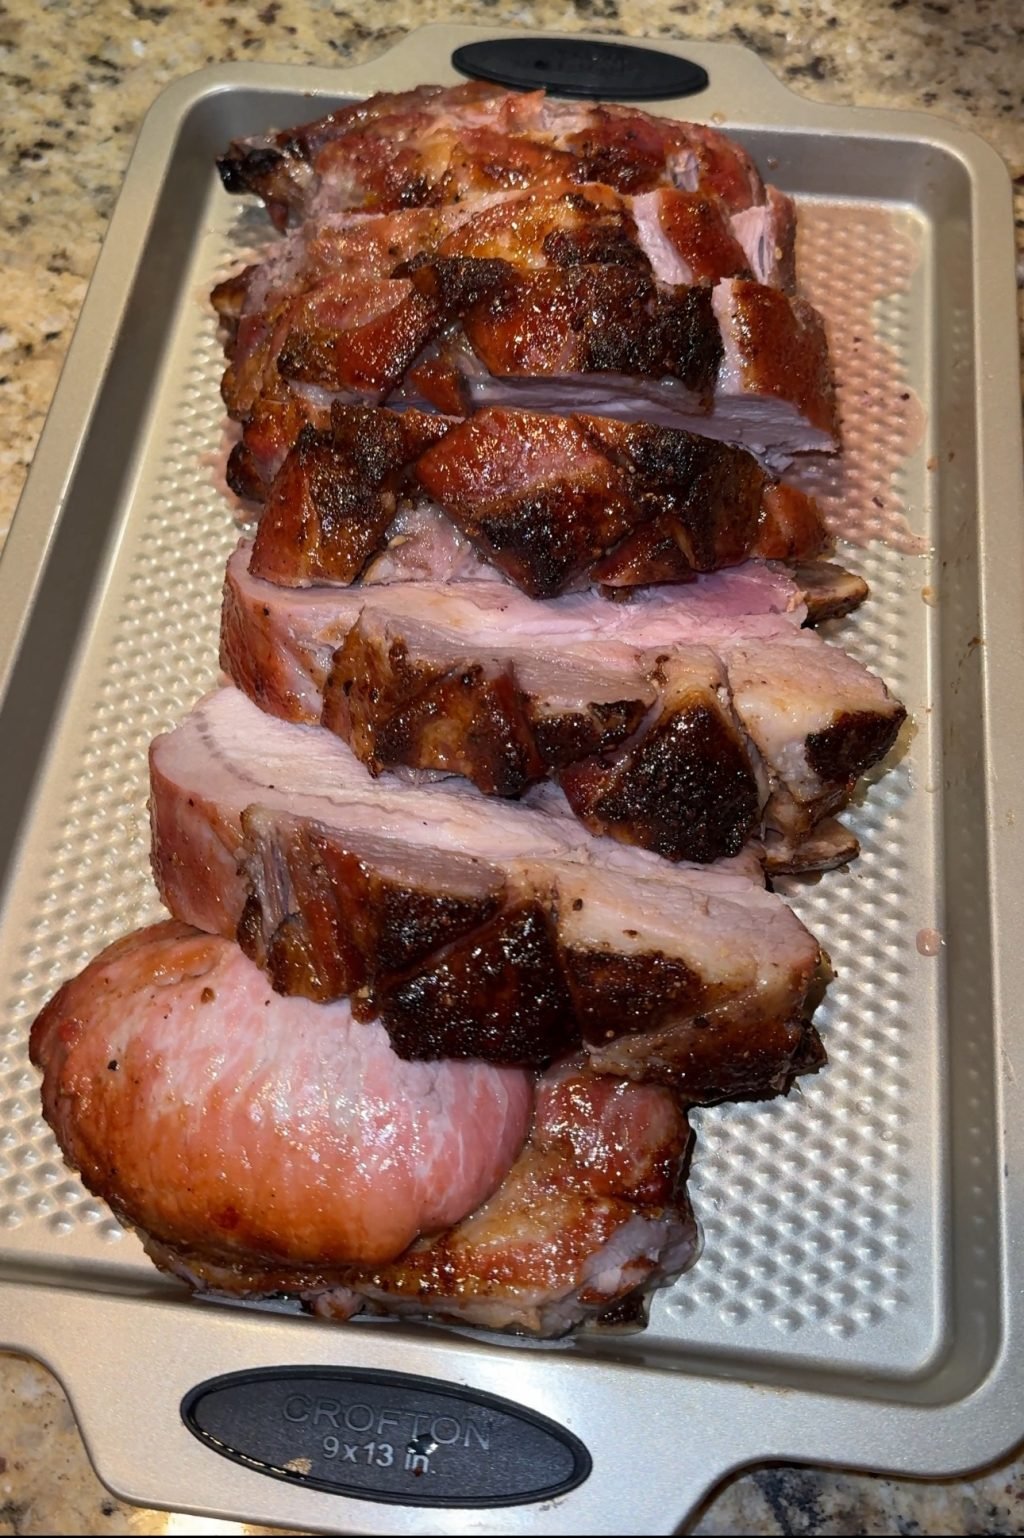
Mine from Aldi was very affordable at under twenty dollars. This roast gave me 8 chops and, honestly, each chop could have fed two people.

What Is A Pork Rack Roast?
A pork rack roast, also known as a pork rib roast, is a hunk of pork that comes from the rib area of the loin. It is basically both the loin and the back ribs, therefore it is very juicy and has the nice chew to it near the bone.
It’s the pork equivalent of a rack of lamb or standing beef rib roast. I believe it is a section of what a crown roast of pork would be.
What Does Frenched Mean?
This just means the style of cutting it to make it look fancy. They have removed some of the meat and fat around the bone.
This gives the look of the roast a more elegant presentation.

Wear Your Fat Cap
You want to make sure your roast has this beautiful fat cap. This is the part you want to dry out and then it will get very crispy and crackling when it bakes up.
You bake this at a very high heat at first so that it crisps up. When you bake it and add the glaze it becomes melt-in-your-mouth wonderful.


Too Salty
You will add a ton of salt for the first part of the process of making this roast. Not to worry, as this helps flavor the meat and it also dries out the fat part so that you get a nice crackling skin.
You will be rinsing off most, if not all, of this salt and your meat will not be too salty.


Let Her Dry Out
It will be super weird to let this roast dry out uncovered in your fridge, but trust me, it is worth the weirdness. You should be familiar with this process if you have made my Thanksgiving Turkey.
Slice And Enjoy
This roast will be the star of your table. It is juicy and delicious.
The meat near the bone is absolutely the best. The outer crackling layer is addictive.
It will be such a treat for your family and friends!

Crackling Pork Rack Roast with Asian Glaze

This Crackling Pork Rack Roast with Asian Glaze is a feast for the eyes and the stomach. This roast does take a couple of days of prep, but it is worth the labor of love. This bakes up with a crispy, crackling skin, juicy chops and the flavors of soy sauce, brown sugar, maple, garlic and clove. This will be the most delicious and juiciest pork you have ever sank your teeth into. Perfect for a special occasion meal.
Ingredients
- 5 to 6 lb French Pork Rack Roast (approximately 8 chops)
- 1/4 cup of Coarse Salt (Kosher is good)
- 1/4 cup of brown sugar
- 1/4 cup of maple syrup (try to use real maple syrup)
- 1/4 cup of soy sauce
- 2 tablespoons of rice vinegar
- 1 tablespoon of dried chive
- 1/2 teaspoon of dried ginger
- 1 teaspoon of garlic powder
- 1 teaspoon of onion powder
- 1/2 teaspoon of white pepper
- 1 teaspoon of cloves (or use 1 teaspoon of Chinese five spice)
Instructions
- I purchased this rack roast from Aldi for a very affordable price. I have been told it is also at Costco and other stores. Make sure you get one that has a fat cap (layer of fat on top). Two days before you are going to serve you want to thaw the roast, and pat it really dry with paper towels. You will want to salt it really well all over, do not be afraid to use a lot of salt, it will be rinsed off later. Make sure to get all sides and get in the crevices. Then you want to wrap it really well in plastic wrap or a clean plastic bag and put it in a pan and let it sit in the fridge for a full 24 hours. I have even let it sit in the fridge for 48 hours.
- After it has sat (dry brined) you want to carefully rinse it really well. Be sure to not splash around too much. I keep a spray bottle of diluted bleach nearby. After I do this step I clean my sink and counters really well to make sure theres no contamination.
- Add some paper towels to a baking dish and after you rinse the roast, you will want to dry it off REALLY well. I then place it in the fridge, uncovered for 12 hours minimum. You want the outer layer, especially the fat cap, to dry out.
- When you are ready to roast, remove from the fridge and let sit out about 30 minutes. You will score the fat cap in a criss cross patter, you can go deep into the fat cap, but do not cut into the meat. I then sort of spread the cuts out a bit to make crevices. Sprinkle the whole roast with a garlic salt or a garlic salt and pepper seasoning.
- Heat your oven to 450 degrees.
- Place the roast on a rack, and into the smallest roasting pan it will fit in. If you do not have a rack, roll up some longer tubes of foil and add a few to the roaster and put the roast on top. You just do not want the roast sitting directly on the bottom of the pan. Add a cup or two of water to the bottom of the pan to prevent a lot of smoking. The meat should not be touching the water.
- Roast the meat for 15 to 20 minutes at 450 degrees. Then turn down the meat to 350 degrees.
- While this is roasting, add all the other ingredients to a sauce pan, whisk and combine and bring to a simmer. Reduce heat and simmer for a few minutes until it is thickened.
- After the meat has roasted for 30 minutes at 350 degrees, open the oven and begin basting the meat with the soy sauce glaze. Make sure to get in the crevices. I repeat this about every 30 minutes until the meat is done. I do a really hefty glaze and use up the glaze at the last basting.
- Every oven and roast is going to cook at different times. My roast took 2 hour after I had it at the 350 temperature. You want to figure about 20 minutes per pound. I highly suggest a meat thermometer. I turn the oven OFF when the thermometer hits 145-150 and leave the meat in the oven another 15 minutes until it is 155. Then I take it out and let it rest on top of the warm stove for 15 minutes. You can loosely cover it with foil.
- You will slice along the length of the roast in between the bones, to make big pieces of bone in chops.
- When you slice this, due to the cut of the meat, there will be darker parts of the meat that may confuse some into thinking this is not done. It is, if the internal temp is 155 or more. There may be a tiny bit of pinkish juices, this is not blood, it is the nature of this pork. If you are really leery, you can put the slices back in the baking pan and warm it a little more in the oven.
- I do take the meat drippings and bring them to a simmer with about a cup of beef broth, then add a 1/2 tablespoon of corn starch to 1/4 cup of cold water, whisk until smooth and add to the simmering stock to make a gravy/au jus.
- Serve with mashed potatoes.
- This reheats pretty well too. Add slices to a pan with 1/2 cup beef broth and put in a cold oven and turn it to 375 degrees and let the meat warm up with the oven.
*I do try to strain out and pick off the cloves as they can be unpleasant to bite into.