
Deli Style Roast Beef
Make The Best Roast Beef Sandwich At Home

Did you know you can make Deli Style Roast Beef at home? All you need is a round roast from your local grocery store, some oil, and a mix of seasoning and herbs and you’ll be ready for the best roast beef sandwich of your life.
I have shared many times that I worked in a Chicagoland grocery store deli for many years. One of my favorite sandwiches was a roast beef sandwich with thinly sliced radishes and salt and pepper.
At the store I worked at on Archer Avenue on Chicago’s Southwest Side, we did not roast our own beef. But we DID get fresh roasted round roasts from some local meat purveyors.
I don’t think there is anything more delicious than freshly sliced roast beef for a sandwich, so I started making my own.
This method for Deli Style Roast Beef is not intimidating. You will need to get yourself a decent chef’s knife to slice this bad boy, but Amazon has many.
Once you make this roast, you will never go back to buying deli beef again.

Which Roast Is Best For Roast Beef?
My answer to this question is to always buy the one on sale. I often see these roasts on sale and I buy a couple and put them my freezer.
While they do seem like a lot sometimes, it is still cheaper than buying deli meat most times. Any “round” roast will do.
There is eye of round, top round, bottom round, and also top sirloin. Any of these work.
My favorite is eye of round roast since I think it is the perfect mix of lean and fatty parts. If you need help finding this roast, just ask the person at the meat counter to help you.
They will know what you are talking about.

Against The Grain
The mistake a lot of people make is slicing the roast the wrong way. In almost every case, the way you slice the beef is usually starting at the more narrow end.
This will allow you to cut tender slices of beef that are not tough. I have a picture of this up above.
You can also ask the meat counter person which way you will slice it when you buy it. They will be able to tell you without it being cooked.

The Master Of All Meats
On the recipe card below, you will see that I have a step where you can use the meat drippings to make an au jus or a gravy. The ingredient I talk about is this Gravy Master.
You can find this in any grocery store. It adds a flavor like a less salty soy sauce.
If you do not want to buy this, you can just use soy sauce. I have quite a few recipes using Gravy Master and you can scroll my site to peruse them.

Roast Beef Sandwiches
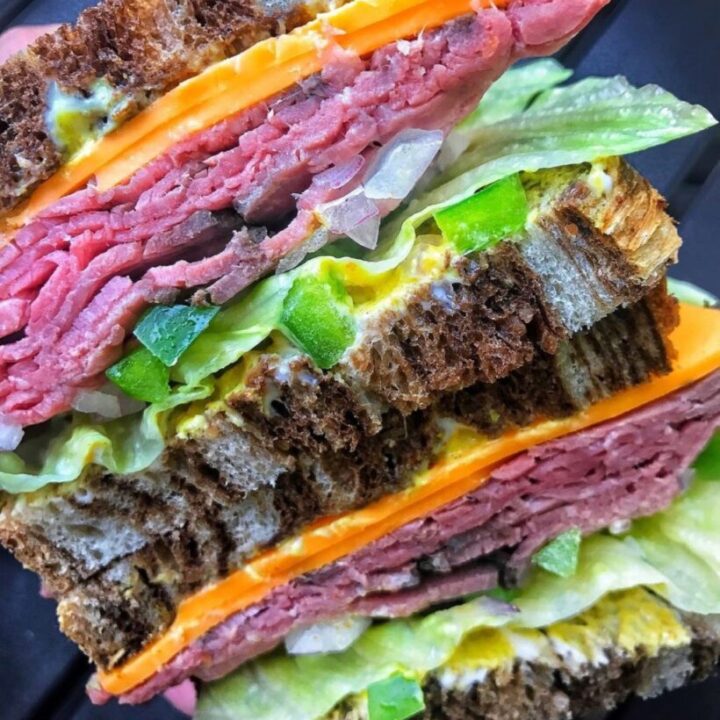
Roast beef sandwiches are my love language. The Roast Beef Sandwich pictured above is one I make a lot.
I also make a roast beef sandwich with red onion, diced green bell peppers, lettuce, horseradish mustard, mayo, and a very sharp cheddar cheese on pumpernickel bread.
The best!
I used to work at Arby’s where my love of roast beef was born. If you haven’t tried this beef and cheddar slider that is an Arby’s copycat, you are missing out.
Deli Style Roast Beef Recipe
Have you ever considered making your own Deli Style Roast Beef at home for sandwiches? This is a very easy, flavorful, and tasty option. Using an affordable eye of round roast that is seasoned well and roasted to perfection. Make on a weekend and enjoy sandwiches throughout the week.
Ingredients
- 2.5 to 3.5 lbs. Round Roast (eye of round, bottom round, top round, top sirloin or sirloin tip all work)
- 2 tablespoons of Cooking Oil of your choice, I use vegetable oil
- 1/2 tablespoon of Garlic Salt
- 2 teaspoons of Black Pepper
- 2 teaspoons of Dried Rosemary
- 1/2 tablespoon of Onion Powder
- 1/2 tablespoon of Garlic Powder
- 1 teaspoon of Paprika
- 2 teaspoons of Dried Oregano
- 2 teaspoons of Dried Parsley
- 1 medium Yellow Onion
- 3 cloves of Garlic
- 1/2 cup of Beef Broth
Instructions
- Remove your roast from the refrigerator at least an hour before prepping and roasting. Remove it from the package, pat it dry, and let it sit out on the counter at least one hour before seasoning.
- When the roast is not ice cold and has sat out, pat it dry again with paper towels. Rub the vegetable oil all over the whole roast.
- Mix all of the seasonings and herbs together in a small bowl.
- If your roast has a fatty top, make sure the fat side is up when placing it in a roasting pan. You want to make sure to use a roasting pan that just fits the roast. This is so it makes a juice. The bigger the pan, the more the liquids will evaporate.
- Add the roast to the roasting pan then season it ALL over on all sides with the seasoning and herbs mixture.
- Add the onions and the garlic cloves to the roasting pan and surround the meat with them. Then add the beef broth.
- Heat your oven to 450° or even 500° if it goes that high. Add your roast and roast at this high temperature for 15 minutes. Without opening the oven door, reduce the heat to 300° and roast for 45 minutes.
- At the 45 minute mark at 300°, open the door and use a meat thermometer to check the temp. Insert the thermometer into the center of the roast. The done temperature is 125° to 135°. See what the thermometer reads. The roast should cook approximately 25 minutes per pound total, so keep this in mind after checking the temp at the 45 minute mark.
- Remember the roast will continue to cook about 10° when you take it from the oven as well. 125° done temp will actually end up being a medium rare roast that will finish at 135° after it rests, SO if you want it well done, pull the roast at 135°.
- When you pull the roast out, let it rest on the top of the warm oven for 15 minutes.
- You can slice the roast thin immediately and chill, or you can chill this overnight in the fridge, wrapped up, and slice it VERY thin the next day for sandwiches.
- Reminder that you want to slice the roast against the grain which is typically starting at the shorter end of the roast.
- You can save the meat drippings. Strain out the onions and garlic. Refrigerate over night, skim off the solidified fat, simmer for 15 minutes and add a teaspoon or two of soy sauce or Gravy Master. You can use this as an au jus. You can also freeze it all to use in soups and stews or to make gravy.
*pictures and links and more information on all the ingredients and steps are in the post before the recipe card.