
Crispy Costoletta Style Chicken Tenders with Butter Lemon Sauce

We Have Cheesecake Factory At Home
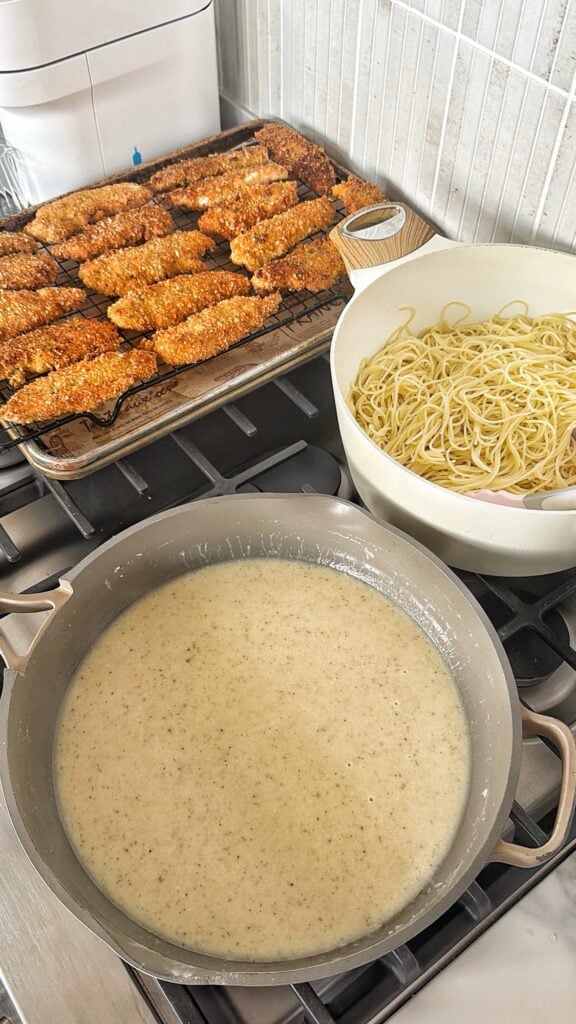
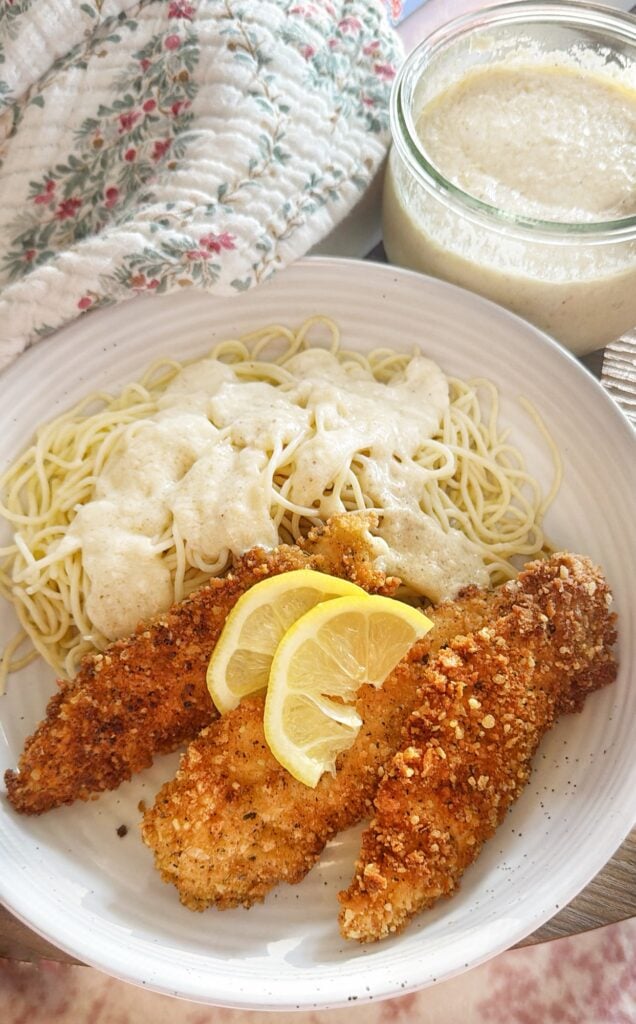
These Crispy Chicken Costoletta Style Chicken Tenders with Butter Lemon Sauce are my easy take on the restaurant favorite. Thick chicken tenders are coated in a crispy Parmesan panko crust, pan fried until golden brown, then finished with a generous amount of buttery lemon garlic sauce. The sauce is made with chicken broth, fresh lemon juice, Parmesan cheese, Dijon mustard, and parsley. It’s the kind of comforting meal that tastes like it came from your favorite Italian restaurant but is simple enough to make any night of the week.
I kept seeing TikTok videos about The Cheesecake Factory’s Crispy Chicken Costoletta, including all the different ways people were customizing, like extra lemon butter sauce, additional pasta, or other add-ons. The funny thing is, the closest Cheesecake Factory to us is inside a mall.
I avoid malls whenever possible. Instead of making the trip, I decided to recreate it at home. I made this recipe while I was getting a few meals ready before heading out of town so Mr. Tipsy would have something easy to reheat for dinner. It turned out even better than I expected. They are made with juicy chicken tenders instead of thin chicken cutlets but are so crispy and flavorful that they’re delicious on their own. I already have ideas for using them in sandwiches, wraps, and salads down the road.
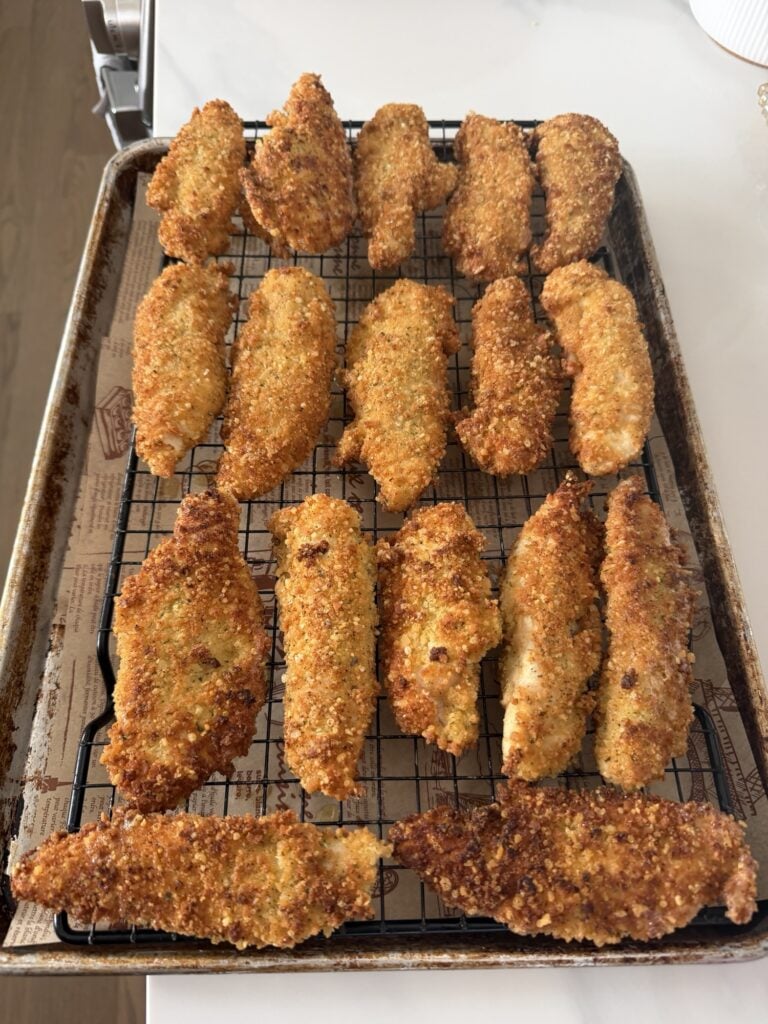
Love Me Tender
If you want to make this as close to the restaurant version as possible, you can use boneless, skinless chicken breasts. You will need to pound them into thin cutlets before breading and cooking them. I went with thick chicken tenders instead. I knew I’d be making this ahead of time for Mr. Tipsy to reheat while I was out of town and chicken tenders stay much juicier when reheated, whereas very thin chicken cutlets can dry out quickly. You still get that crispy Parmesan crust and buttery lemon sauce with a little more forgiveness if you’re enjoying the leftovers the next day.
Reheating The Tenders
These chicken tenders reheat beautifully, especially if you want to keep the coating nice and crispy. For the oven, place the chicken on a baking sheet and put it into a 250 degree oven while it preheats. By the time the oven reaches temperature, the chicken should be warmed through without drying out.
In the air fryer, reheat at 325 degrees for 4 to 6 minutes, flipping halfway through if needed. A toaster oven works much the same way at 325 degrees for about 8 to 10 minutes. If you’re short on time, the microwave will also work, though the coating won’t stay as crisp. Heat in 30 second intervals just until warmed through. Next, spoon the warmed lemon butter sauce over the top before serving for the best flavor.
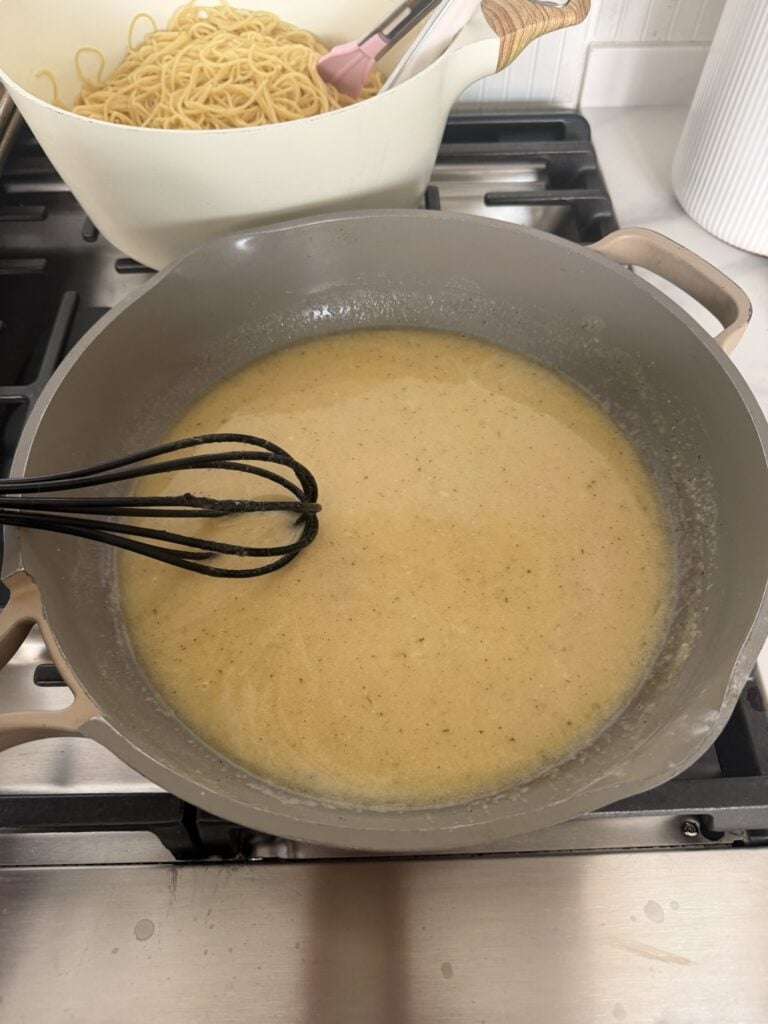
Trouble Shooting The Sauce
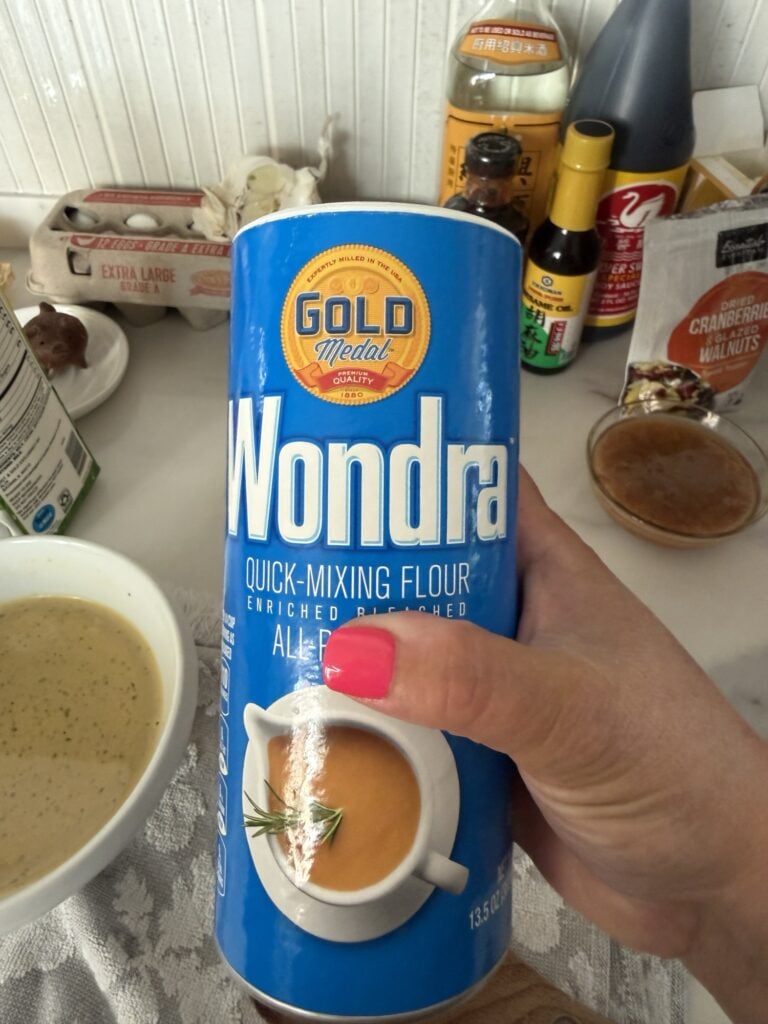
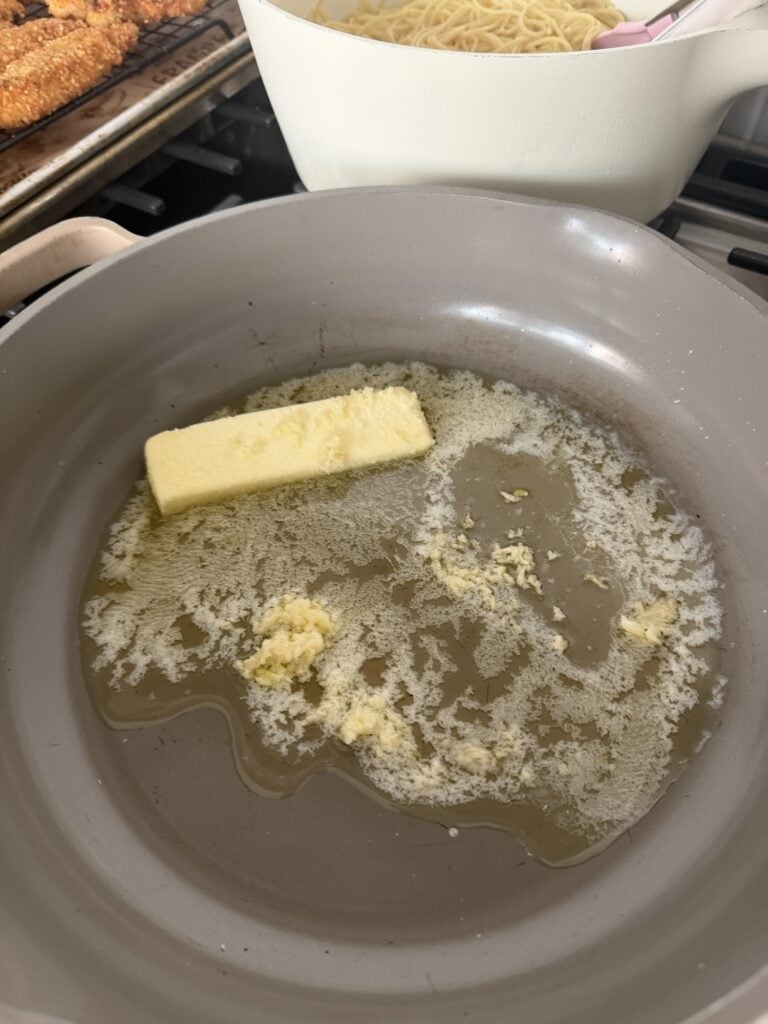
If you’ve never made a pan sauce before, don’t let it intimidate you. After the chicken is cooked, lower the heat before adding the butter and garlic. This is so the garlic doesn’t burn. Once you pour in the chicken broth and lemon juice, if the sauce seems too thin, let it simmer for another minute or two to reduce. If it becomes thicker than you’d like, simply whisk in a splash of chicken broth until it reaches your desired consistency. Be sure to add the Parmesan over low heat and whisk until it’s fully melted to create a smooth, silky sauce. I like to use Wondra flour for gravies.
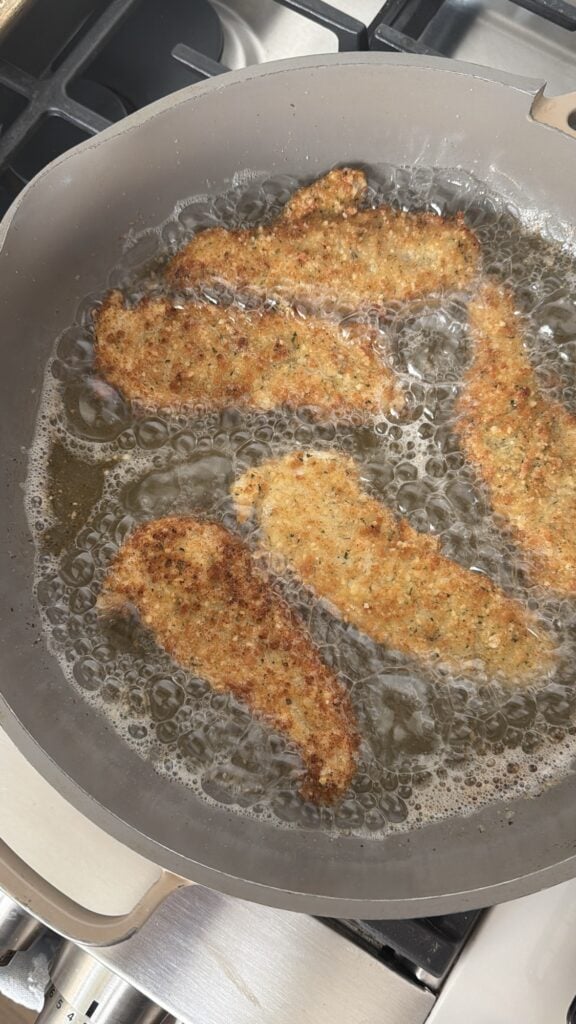
Frying Tips For First Timers
A few simple frying tips will help you get the crispiest chicken possible:
- Let the chicken sit at room temperature for about 15 to 20 minutes before breading and frying so it isn’t ice cold, which can cause the coating to cook unevenly.
- Be sure not to overcrowd the skillet, as this lowers the temperature of the oil and causes the chicken to steam instead of crisp.
- Fry the chicken in batches, leaving a little space between each piece, and don’t start adding a new batch until you’ve completely removed the previous one.
- Giving the oil a minute or two to come back up to temperature between batches will reward you with beautifully golden, crispy chicken every time.
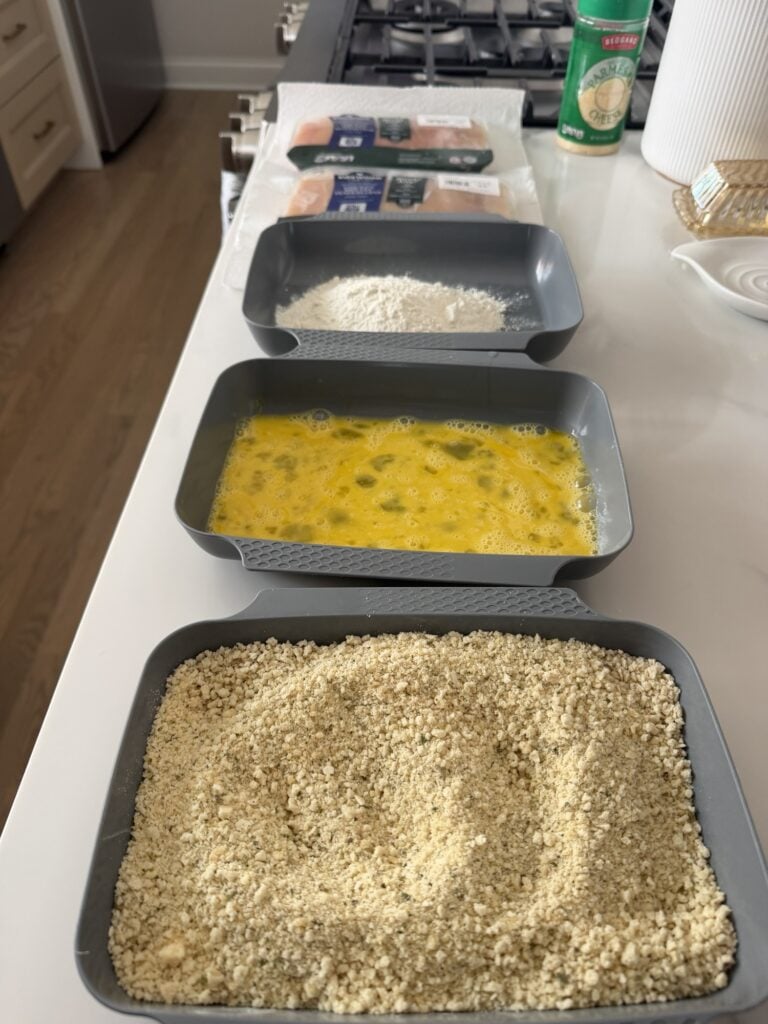
Set Yourself Up For Success
Breading chicken doesn’t have to be a messy, frustrating process if you set yourself up before you begin. Arrange three shallow bowls or pie plates in an assembly line: one with flour, one with the beaten eggs, and one with the Parmesan and panko mixture.
I like to use one hand for the dry ingredients and the other for the egg to keep from ending up with those thick, clumpy “breading fingers.” Coat each piece of chicken completely in the flour first, then the egg, and finally press it firmly into the breadcrumb mixture so the coating sticks well. Once you get into a rhythm, the process goes quickly, and the crispy results are well worth the extra few minutes.
I got these breading trays years ago from pampered chef. I love them.
*The following sentence contains an Amazon Affiliate link which means I make a small commission if you use my link at no extra cost to you.*
If I were to buy them new, I would get these stainless steel ones I see on Amazon. I think they are more food safe than using the plastic ones.
Make It A Complete Meal
If you’re looking for a side dish to serve with this, my Blue Cheese Salad would be a fantastic pairing. The smoky bacon, crisp lettuce, and creamy blue cheese dressing complement the bright lemon butter sauce and crispy Parmesan chicken so well. It definitely leans toward the indulgent side, but every now and then that’s exactly the kind of meal worth making.
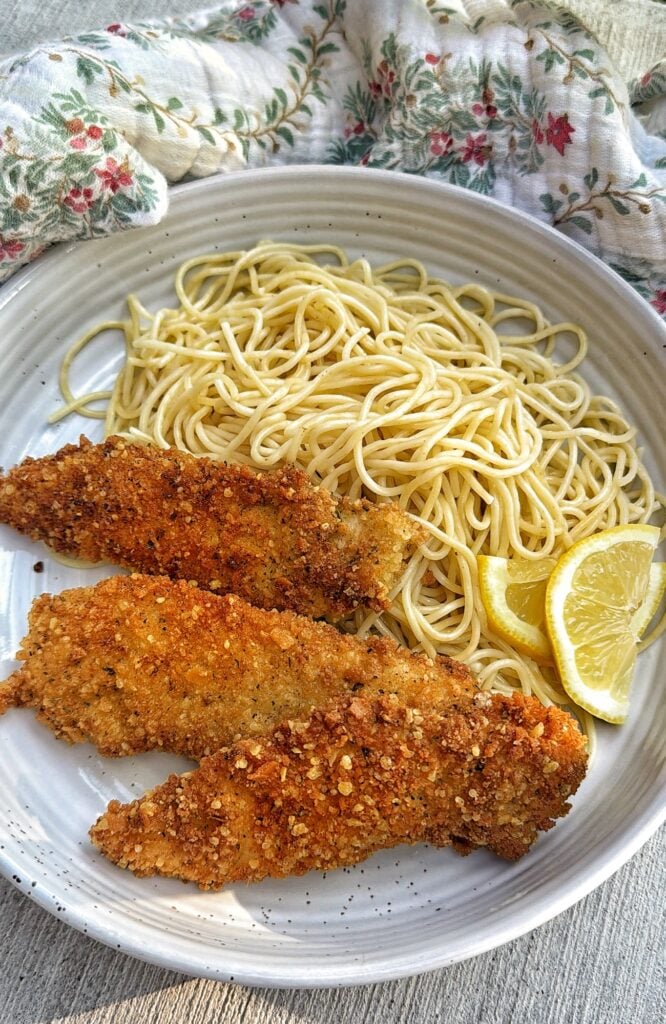
Take Them A Meal
This recipe is also perfect for making ahead and delivering to someone as part of a meal train or for a family going through a busy season. If you’re including cooked pasta, I recommend rinsing it after draining to stop the cooking process and help prevent it from sticking together. Toss the cooled pasta with a little olive oil before packing it up, then store the lemon butter sauce separately if possible so everything reheats nicely.
Another great option is to skip cooking the pasta altogether and simply include a box of dry pasta with the meal. That way, the recipient can cook fresh pasta while the chicken reheats, giving them a dinner that tastes just made.
Crispy Costoletta Style Chicken Tenders with Butter Lemon Sauce Recipe
If you love the bright lemon butter flavors of a classic chicken costoletta but want something a little easier to make at home, these Crispy Chicken Costoletta Style Chicken Tenders are the answer. Instead of pounding out chicken breasts, I used thick chicken tenders, which stay incredibly juicy on the inside while developing a perfectly crisp, golden coating. I also doubled the lemon butter sauce because everyone always wants a little extra for spooning over the chicken and mashed potatoes.
Ingredients
FOR THE CHICKEN:
- 2 pounds chicken tenders
- Salt and black pepper, to taste
- 1 cup all purpose flour
- 4 eggs, beaten
- 2 cups panko breadcrumbs
- 1 cup grated Parmesan cheese
- 2 teaspoons garlic powder
- 2 teaspoons Italian seasoning
- Olive oil and butter, for pan frying
FOR THE DOUBLE LEMON BUTTER SAUCE:
- 8 tablespoons butter
- 4 cloves garlic, minced
- Juice of 2 lemons
- 2 to 3 tablespoons of flour *I use wondra flour
- 1 cup chicken broth
- 4 tablespoons heavy cream (optional, but delicious)
- 4 tablespoons grated Parmesan cheese
- 2 teaspoons Dijon mustard
- Chopped fresh parsley
Instructions
- Season the chicken tenders with salt and pepper.
- Set up three shallow bowls. Place the flour in the first bowl, the beaten eggs in the second, and combine the panko, Parmesan, garlic powder, and Italian seasoning in the third.
- Coat each chicken tender in the flour, then the egg, and finally the panko mixture, pressing gently so the coating sticks well.
- Heat a generous combination of olive oil and butter in a large skillet over medium heat. Cook the chicken tenders in batches, about 4 to 5 minutes per side, depending on their thickness, until they are golden brown and reach an internal temperature of 165 degrees. Transfer the cooked chicken to a plate while you prepare the sauce.
- For the sauce, use a separate pan. Melt the butter in the skillet and add the garlic, cooking for about 30 seconds until fragrant. Add the flour and whisk until smooth. Stir in the chicken broth and lemon juice. Simmer for 2 to 3 minutes, then whisk in the heavy cream, Dijon mustard, and Parmesan cheese until smooth. Stir in the chopped parsley.
- Serve the crispy chicken tenders with plenty of the warm lemon butter sauce spooned over the top. These are especially good with creamy mashed potatoes and roasted asparagus.
Reheating Instructions
- To keep the breading crispy, avoid the microwave.
- Place the cooked chicken tenders on a baking sheet and put them into a 250 degree oven.
- Turn the oven on and let the chicken warm gradually as the oven preheats. By the time the oven reaches temperature, the chicken will be warmed through while staying nice and crispy.
- Warm any leftover lemon butter sauce separately on the stovetop or in the microwave and spoon it over the chicken just before serving.
*There are many tips and tricks in the post before the recipe card if you need any help with making this recipe.